Preparation - Platformer Tutorial Part 1 - Godot
Hello everyone, this is my first godot tutorial. I will explain how I can achieve platformer game in godot engine.
- Part 1 : Preparation
- Part 2 : Player Creation
- Part 3 : Player Creation 2
- Part 4 : Tilemap and Camera
- Part 5 : Player Animation
- Part 6 : Parallax Background and Level Bounds
- Part 7 : Character Controller and Enemy
In this section only cover about preparation. I’m using :
For now, what you need is only 2 items. You can install Godot from Steam, or just follow this link and download the executable file depend on your OS. You can grab the asset tile from grafxkid in opengameart, or just download directly here (background color already alpha).
Create Project
If you know how to create project skip this one, otherwise you can follow my step. Open Godot Engine, you will see Project Window, click New Project Button (on the right side), click browse to make easier, in my case is D:/Godot/V2/Platformer_Tutorial.
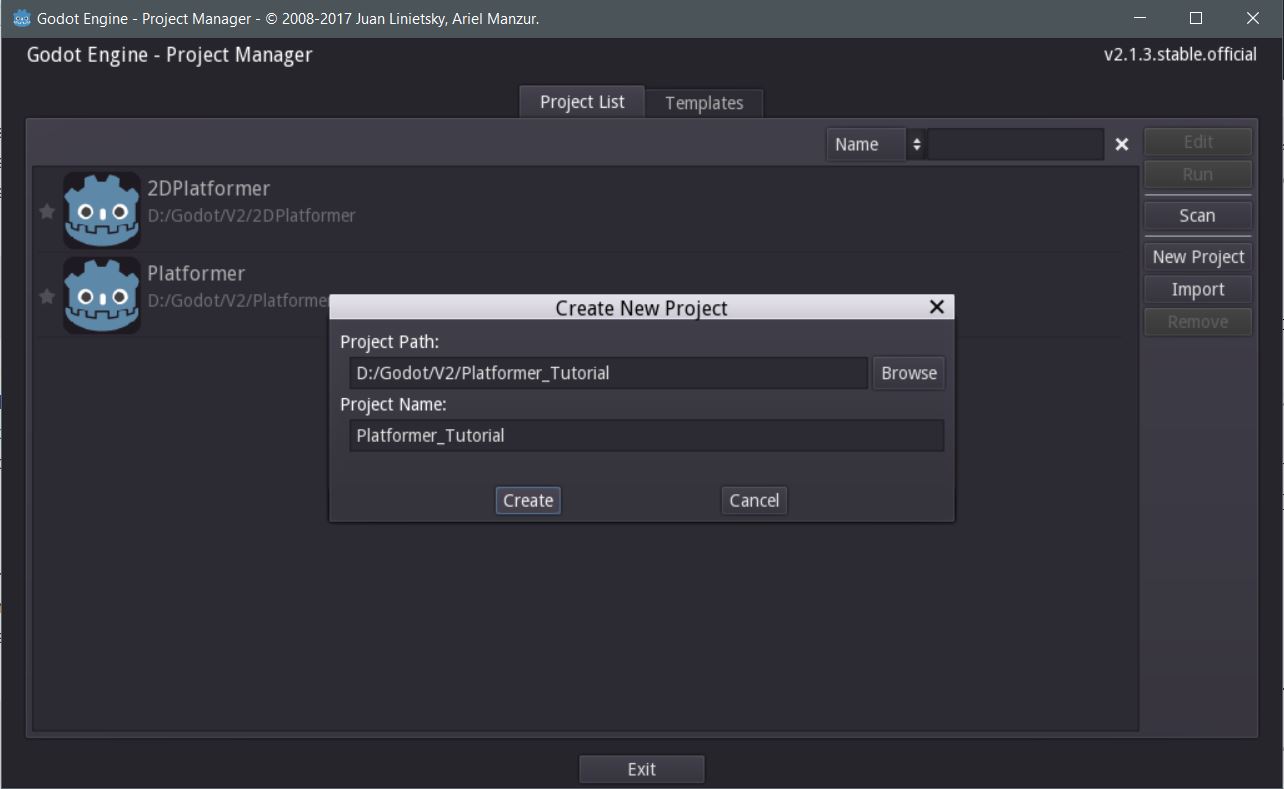
If you were done, click Create button. Now open the project by double click from the project list.
Manage the Asset Sprite
You can copy directly from the file explorer into your project folder, then you can back into Godot Engine. Your file must be available in the FileSystem Window.
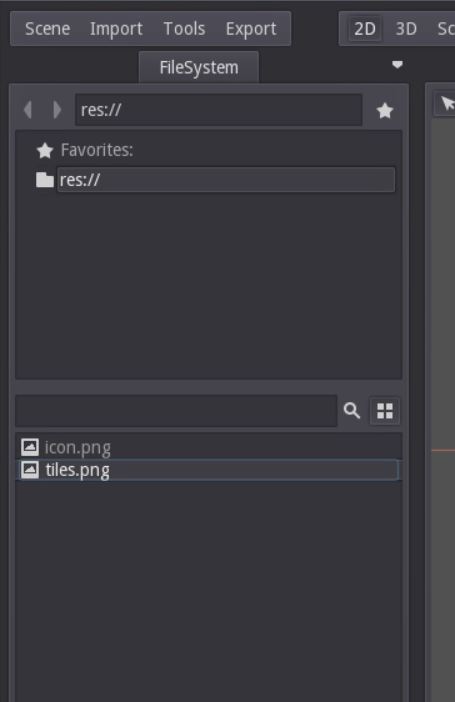
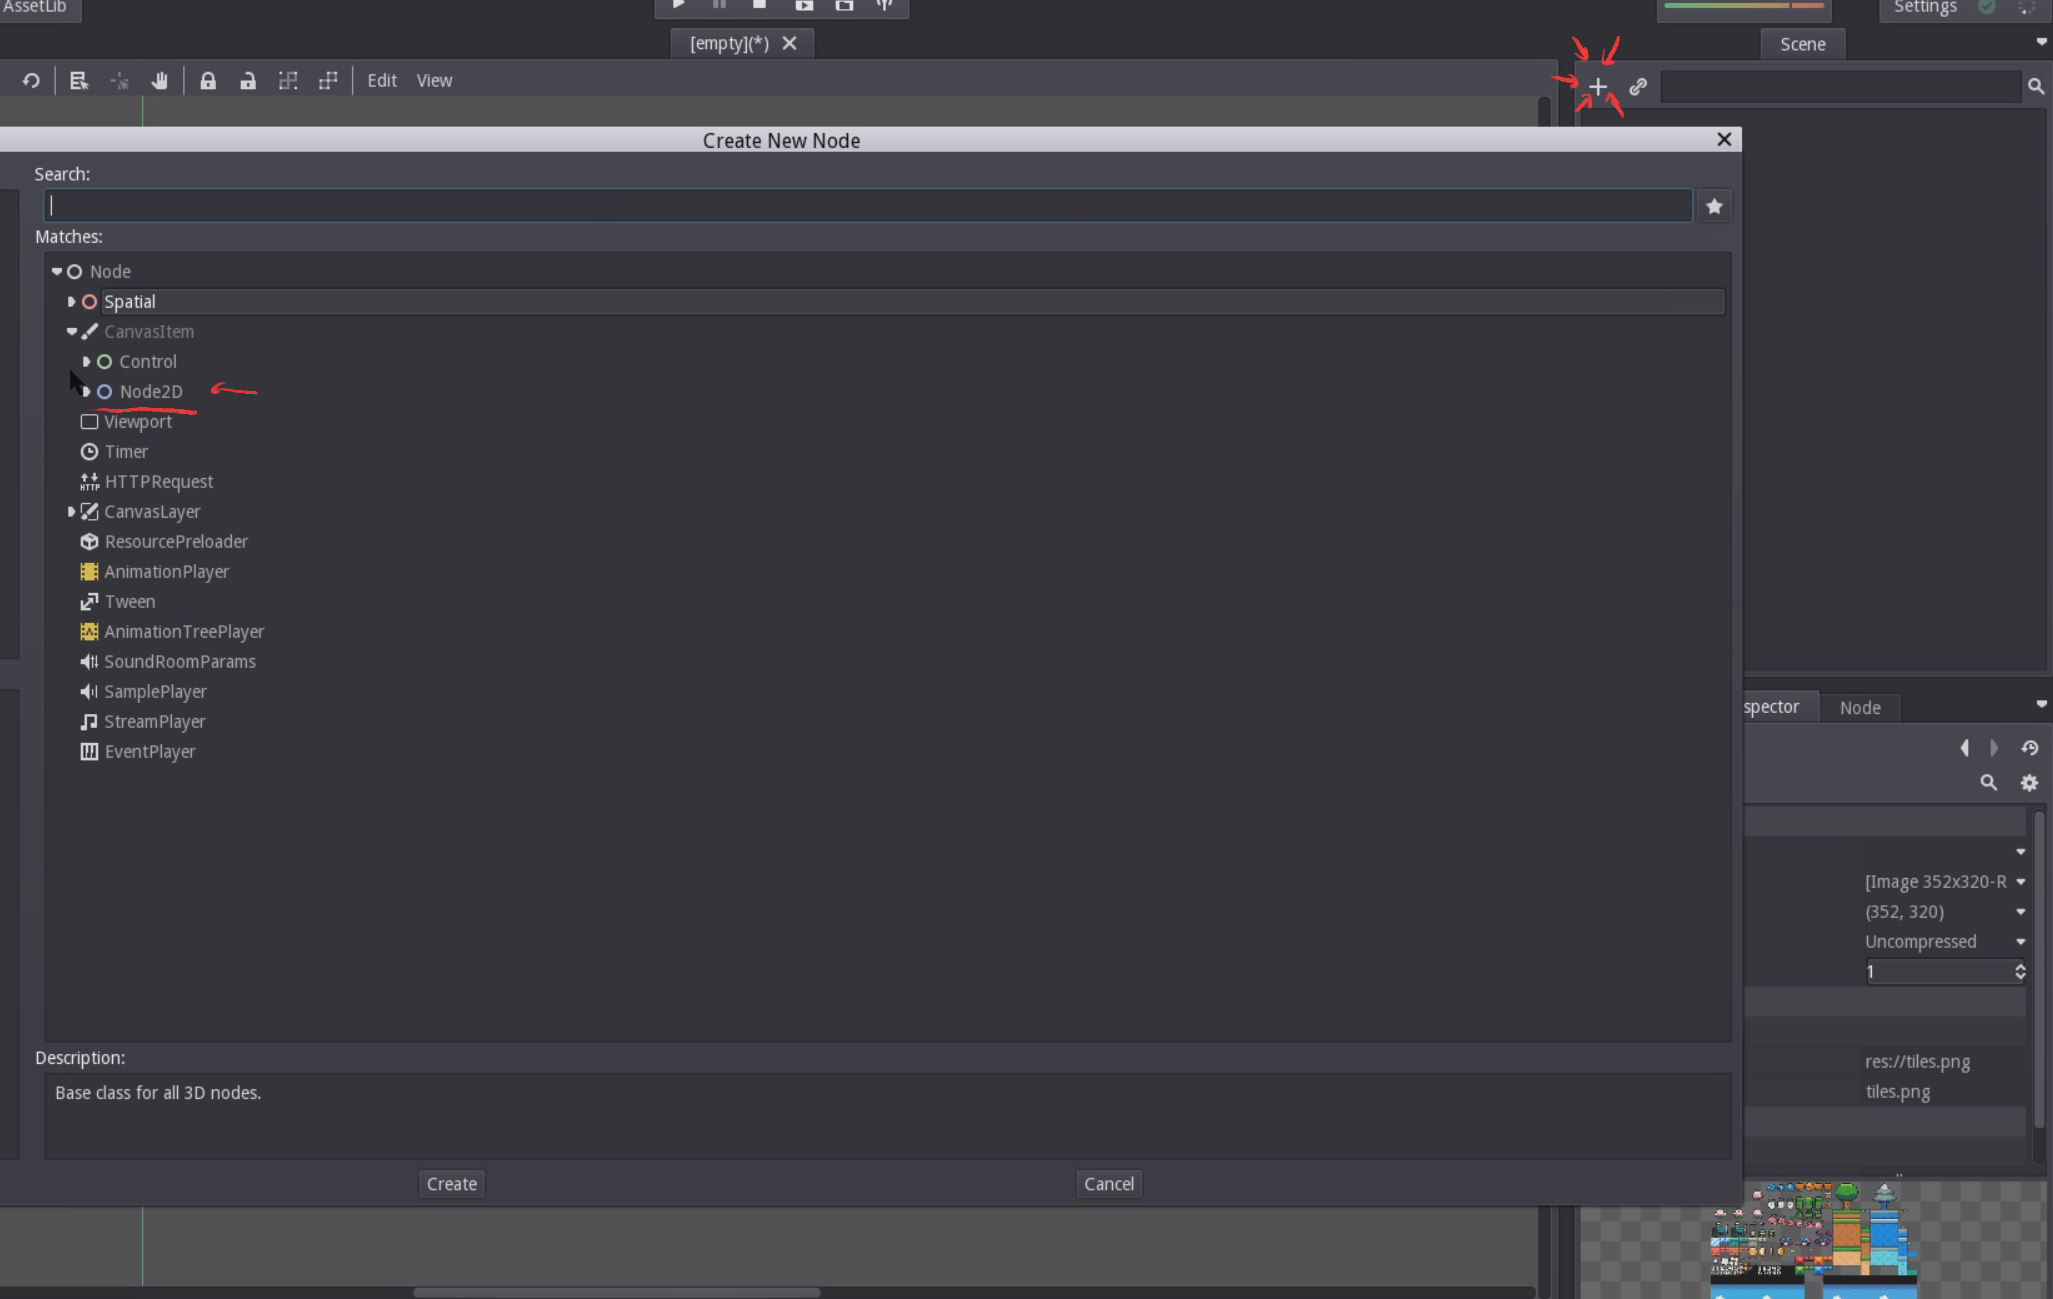
Press F1 or click the 2D button in the top toolbar to show 2D view. Then on the Scene window create root node by clicking the ‘+’ button, select Node2D.
After that, drag and drop the tiles.png into the scene view (middle one). As you can see, the image is blurry.
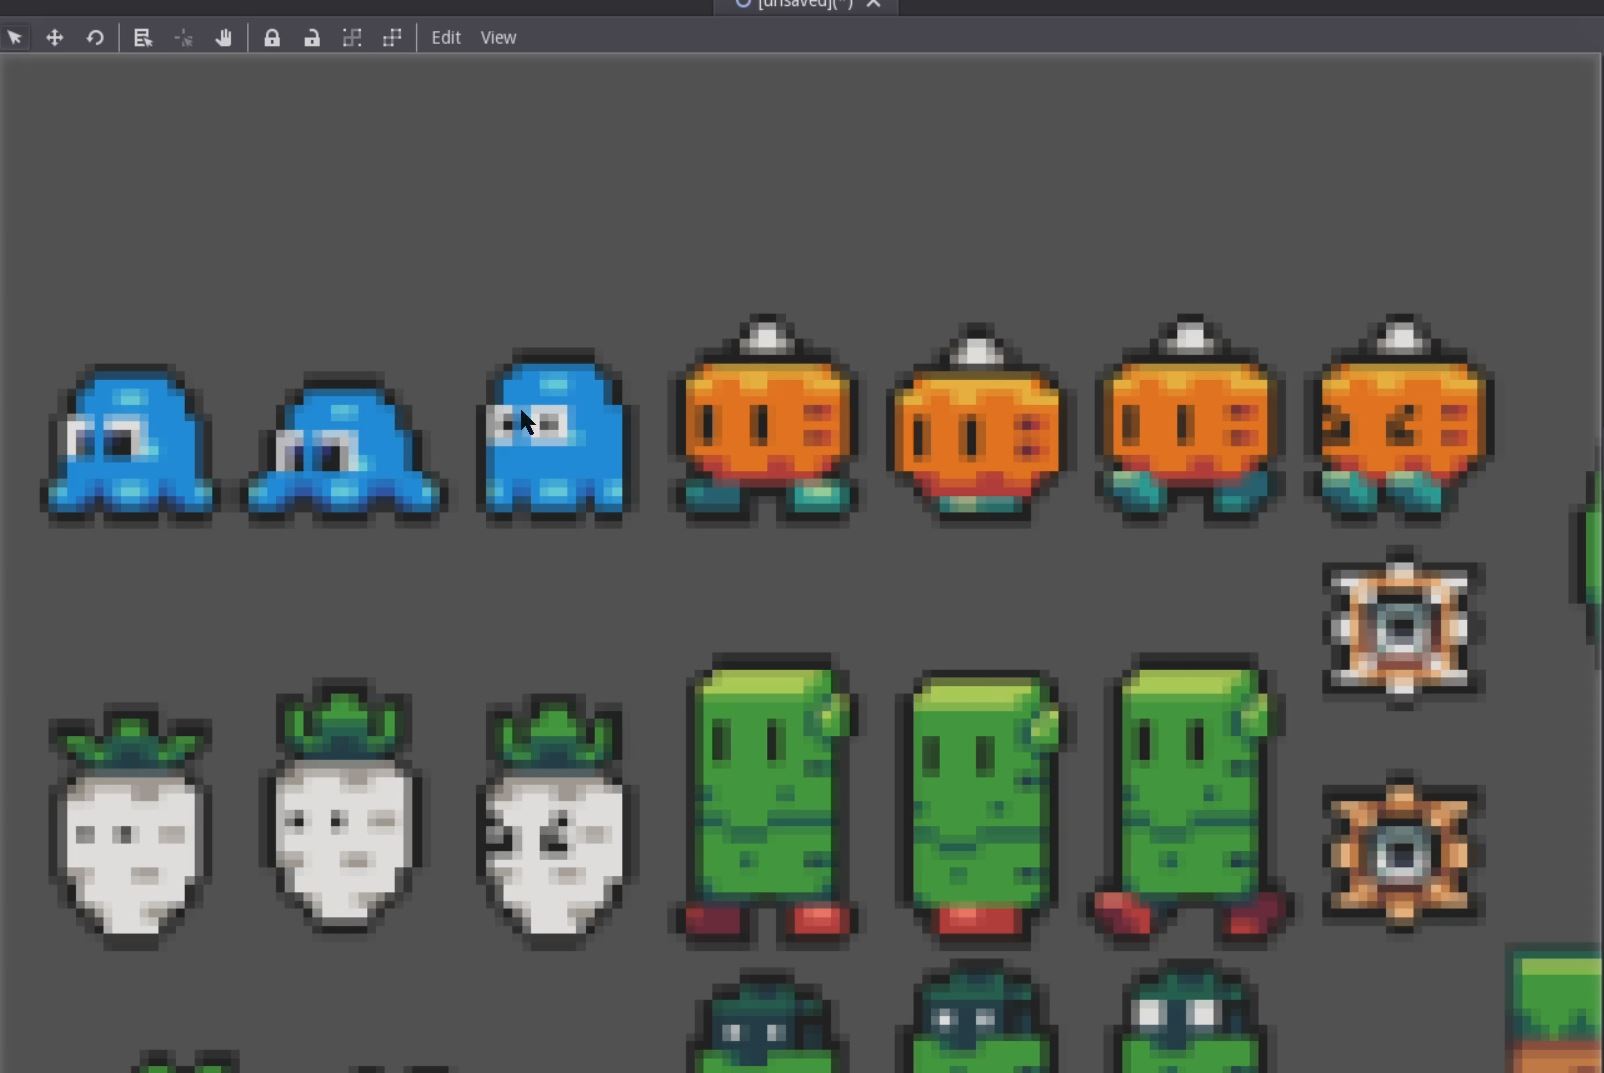
You can fix it by changing the flags option. Double click the tiles.png from the FileSystem window. Now go into Inspector window and change the Flags by disabling everything.
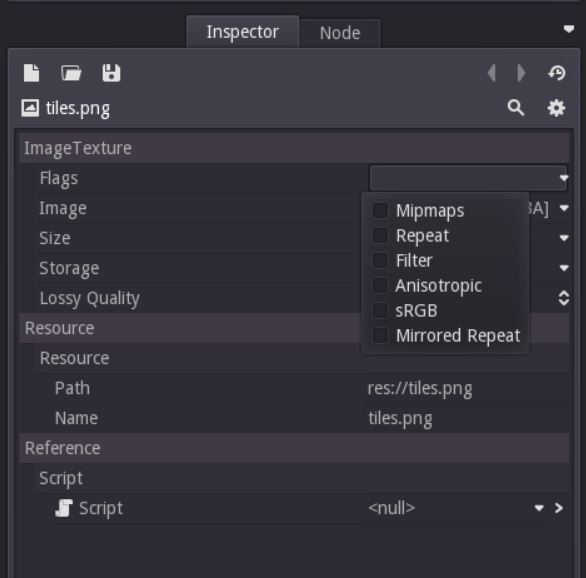
If the image on the scene still blurry, you can try by reloading the image. Still in the Inspector window, Click on the Image option - Load - select tiles.png. Now the image must be fixed.

Okay, the preparation is done, you can go to the next post . Have Fun!!