Tilemap and Camera - Platformer Tutorial Part 4 - Godot
This is the fourth part of the tutorial creating platformer game on Godot Engine. In this tutorial I will explain how to setup tilemap and camera.
- Part 1 : Preparation
- Part 2 : Player Creation
- Part 3 : Player Creation 2
- Part 4 : Tilemap and Camera
- Part 5 : Player Animation
- Part 6 : Parallax Background and Level Bounds
- Part 7 : Character Controller and Enemy
Tileset and Tilemap
Godot has a special tilemap node, so we don’t need 3rd party software like Tiled to make our level. Create and setup tilemap is not that hard, what you need to do is just create new scene and fill it with bunch of node for the tileset.
Tileset
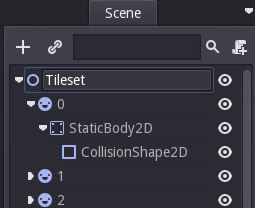
Before we go into level design, we need to make our tileset. Create a new scene and create a Node2D (rename to “Tileset”) as the root. Then create a sprite node as a child of Tileset. So we have 2 node, one is Tileset and the other one is Sprite. Each child of Tileset will become tiles (only sprite node) and the name of sprite node will become the ID. Rename the sprite into “0”.
I want to create my first tile with the left top ground, assign the Texture with Tiles.png, set the VFrames = 20 and HFrames = 22. Set the sprite into “left top ground” image by changing the Frame = 79. So we got our first tile.
This tile is ground type, which means need a collision. The collision is static, so, add a new StaticBody2D Node as a child of “0”. Then add a new CollisionShape2D as a child of StaticBody2D. Set the CollisionShape2D with RectangleShape2D and setup the size of RectangleShape2D along with the size of ground sprite.
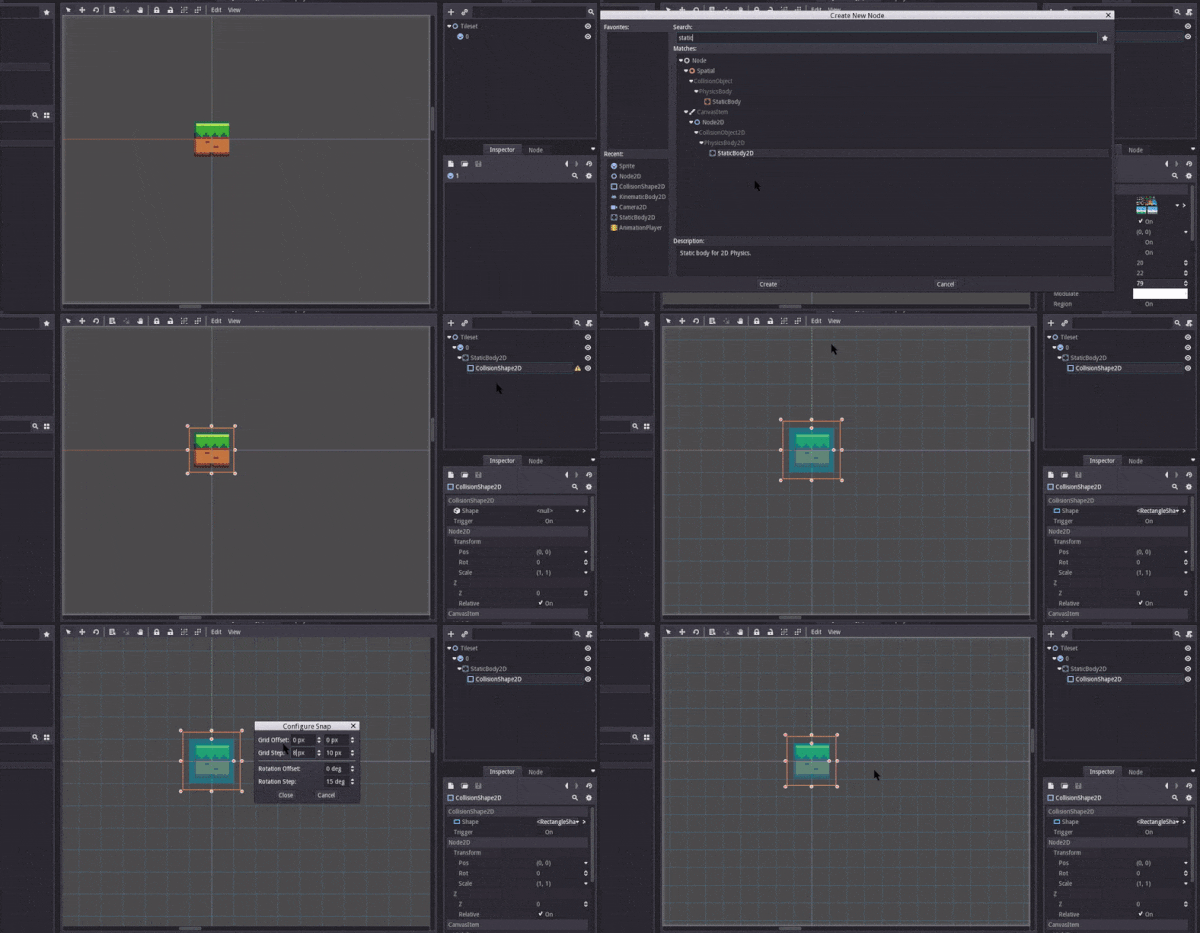
PRO TIPS : You can edit collision shape into precise value by activating the Snap Option. Click Edit - Use Snap, setup the snap value by clicking Edit - Configure Snap.
Okay, we are done with one tile, 12 left! You can duplicate the node by pressing CTRL + D and setup it as needed, until you got all this tileset
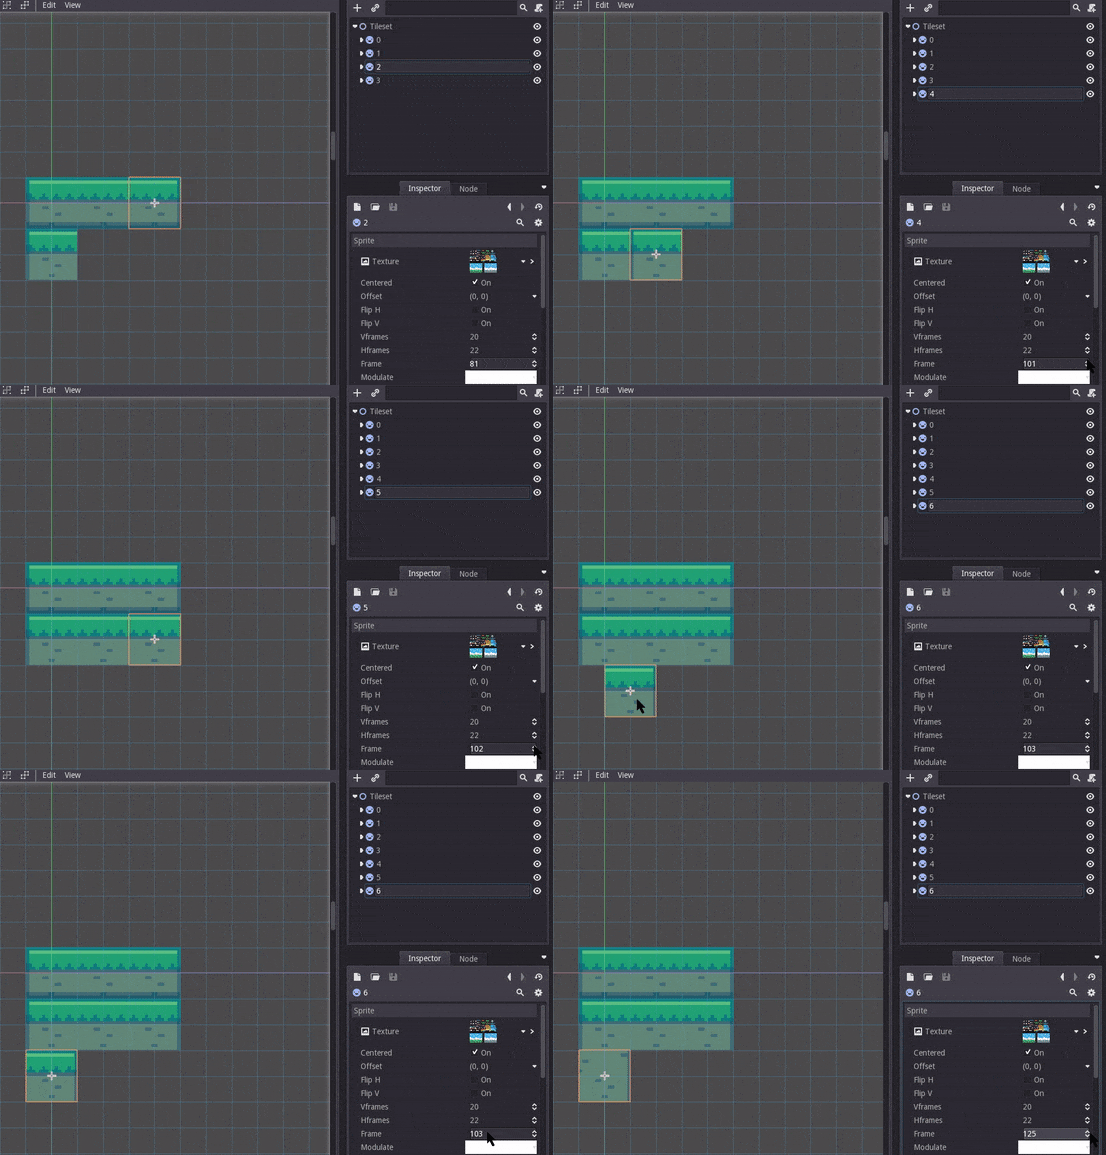
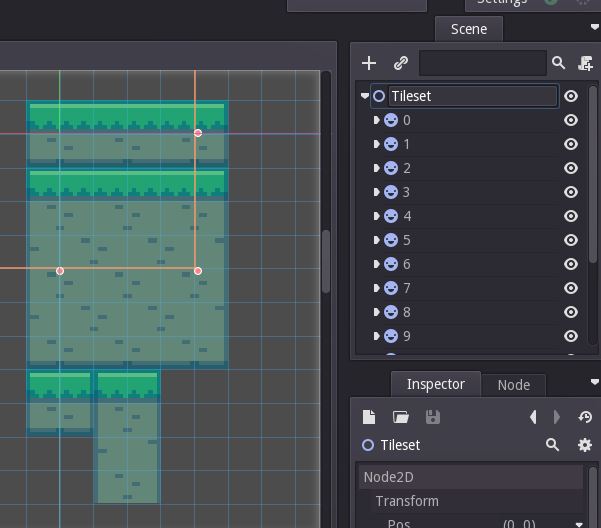
Save the scene as Tileset.tscn, then click Scene - Convert To.. - Tileset, save it as tileset.tres make sure enable Merge With Existing Option. Yeay, we’ve done creating the Tileset.
Tilemap
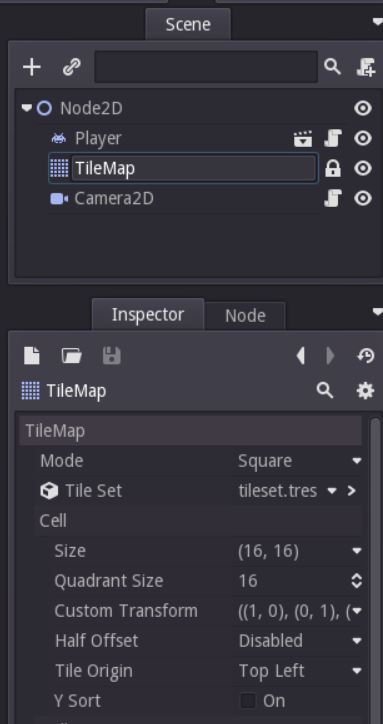
We’ve create the tileset, now we can create our World level. Open World.tscn delete our StaticBody2D Node and create a Tilemap Node. View at Inspector Window, find Tile Set option, click the
Now create a simple level! Left click to paint, right click to delete.
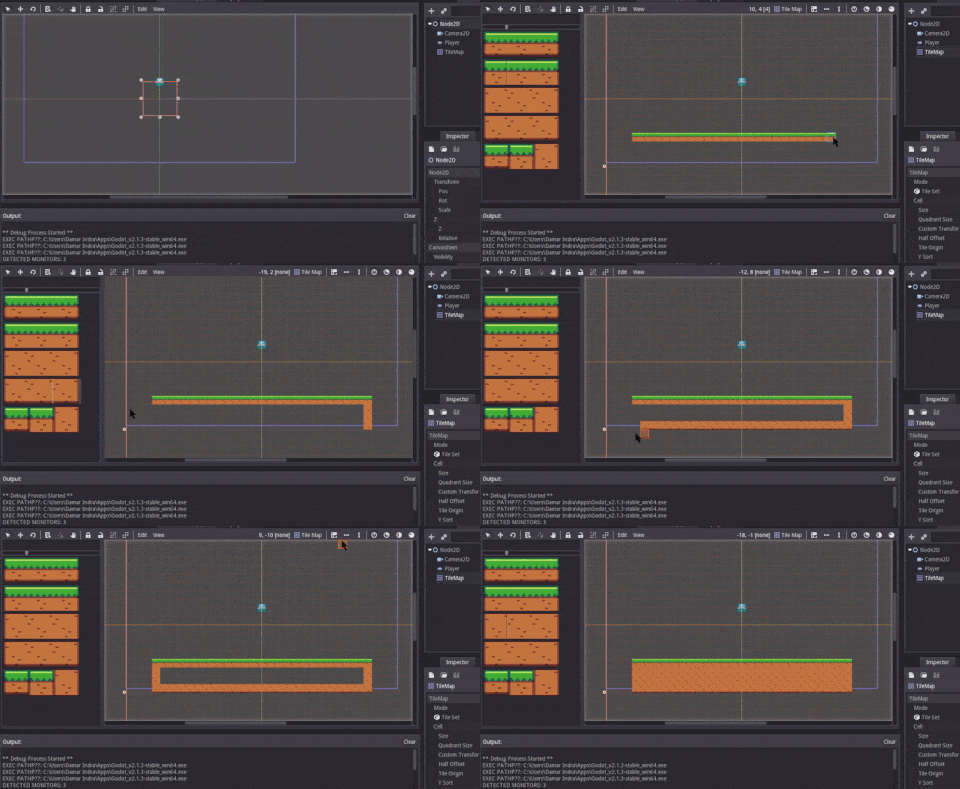
PRO TIPS : In my tileset view maybe different from yours, you can configure it in TileMap Editor Settings. Click Settings - Editor Settings - Tilemap - Change the value as you wish.
Camera
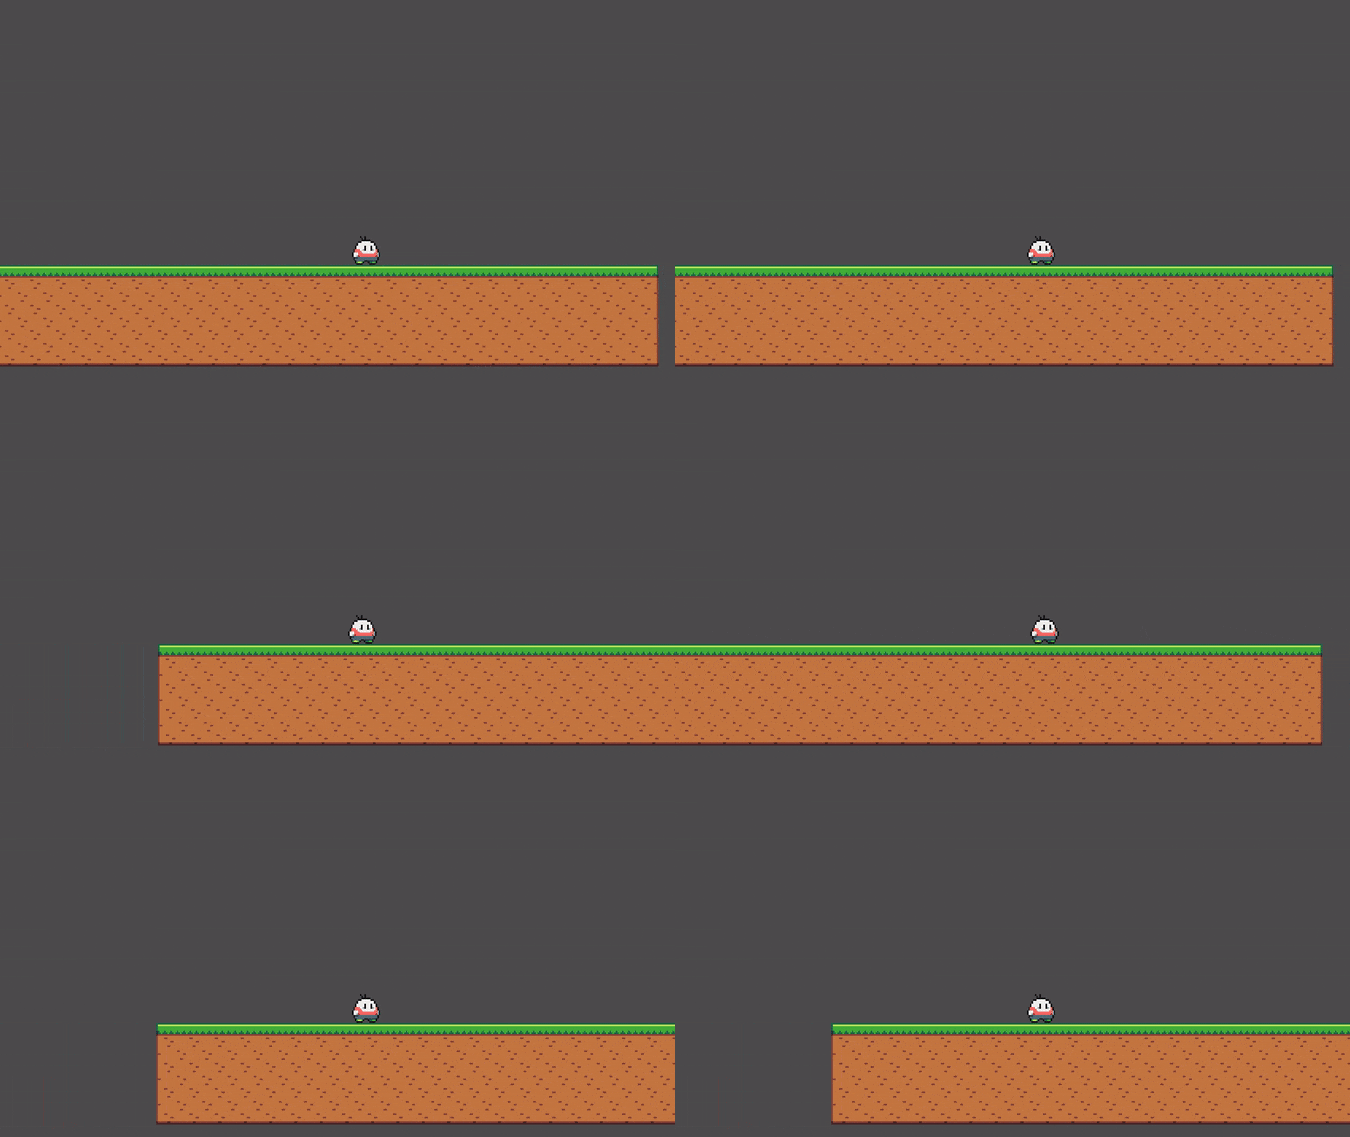
Camera will always follow the player. But how? You can easily set the camera node as a child of Player, but that just dirty trick and not pleasing in the eyes. Or you can use Drag Margin (found in inspector), but I don’t like it, however it’s easy and good. If you using Drag Margin, when you moving on the right direction, the camera will be on the left of character, and otherwise. That makes user can’t see clearly what happen in the next area, because the camera always left behind the character. That was Drag Margin and that was opposite of my implementation. If the character moving right direction, I want the camera is on the right side, so user can see clearly in the next area, hope you understand what I mean :). Here you go example of using Drag Margin
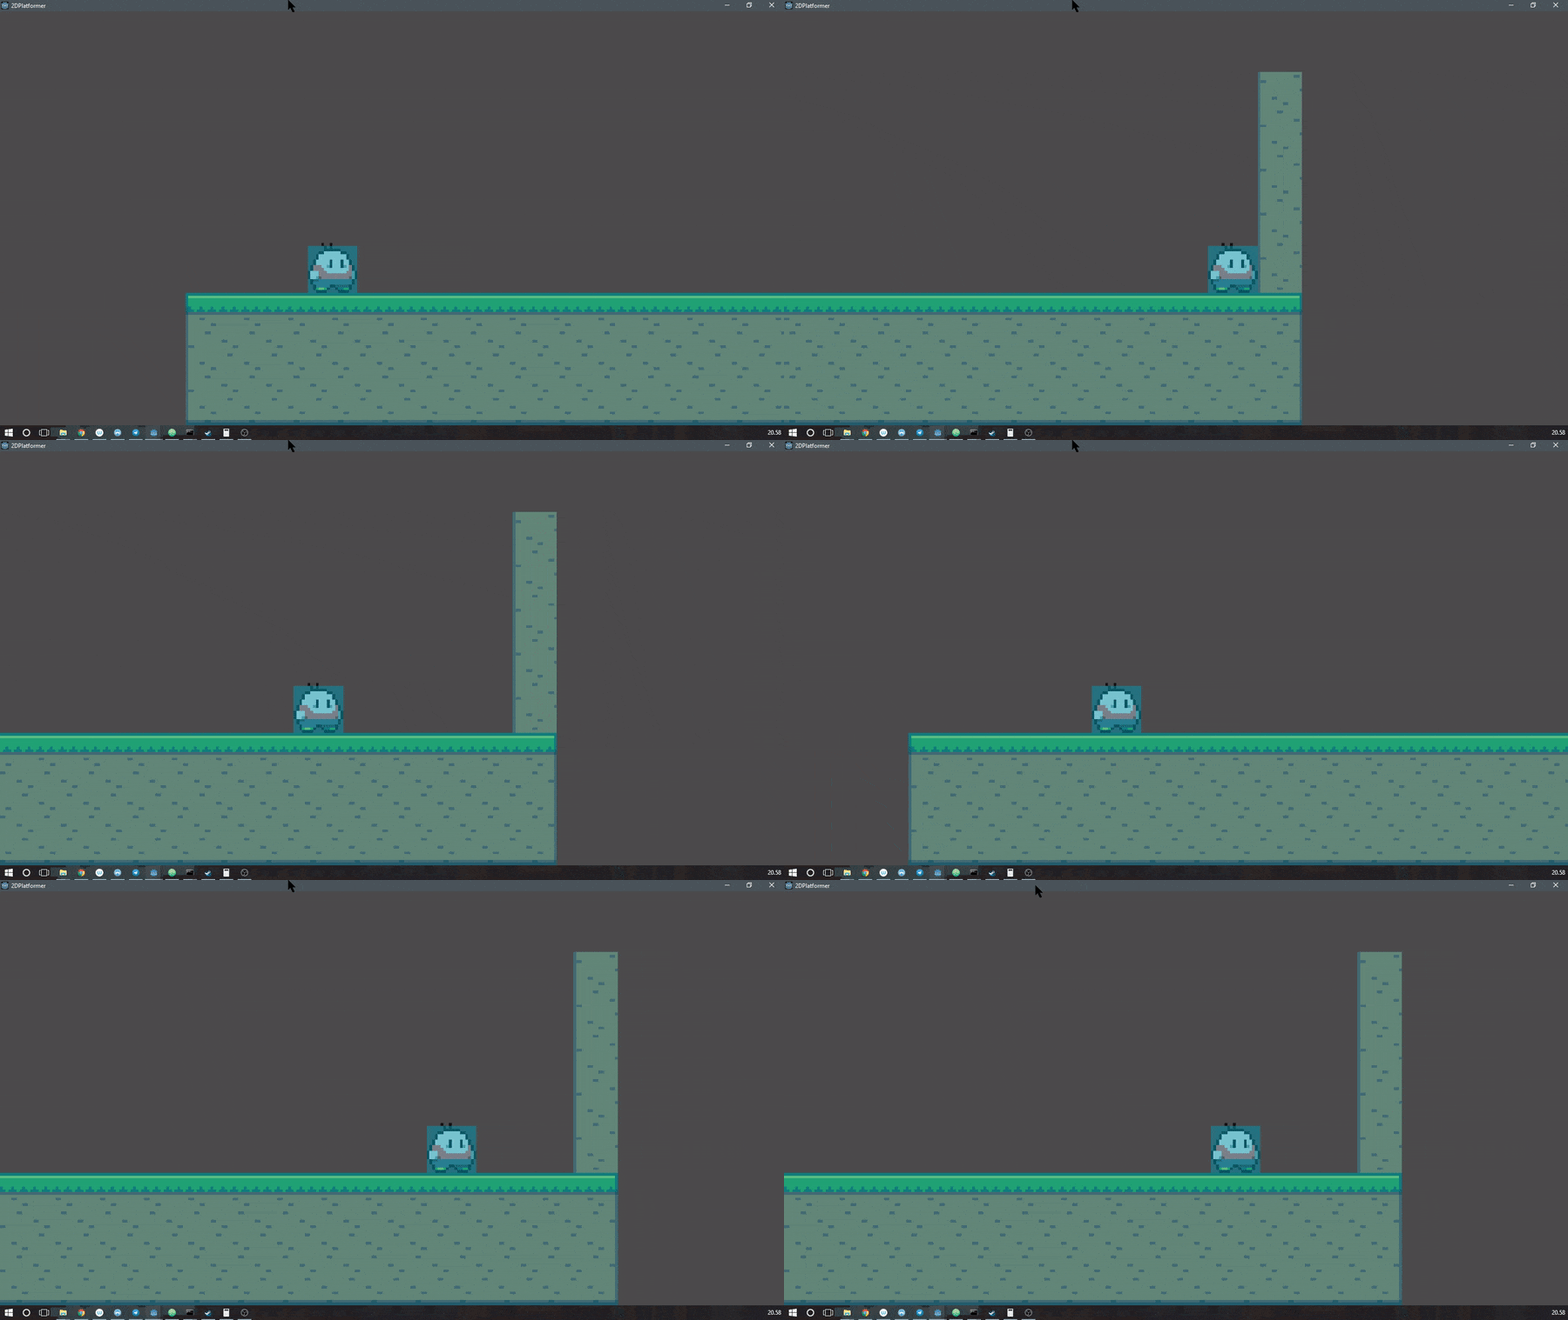
PRO TIPS : As far as I know, godot automatically set pixel perfect for you (make sure your sprite import flags disabled). So, the camera movement must be not floating point. Image above is not good for pixel art, because the camera position will be at floating point. If you really need the camera at floating point, you can activate in use_2d_pixel_snap inside Project Setting - Display, this will force the render result always pixel perfect, but the result maybe little weird, in my opinion of course.
Configure Display Settings
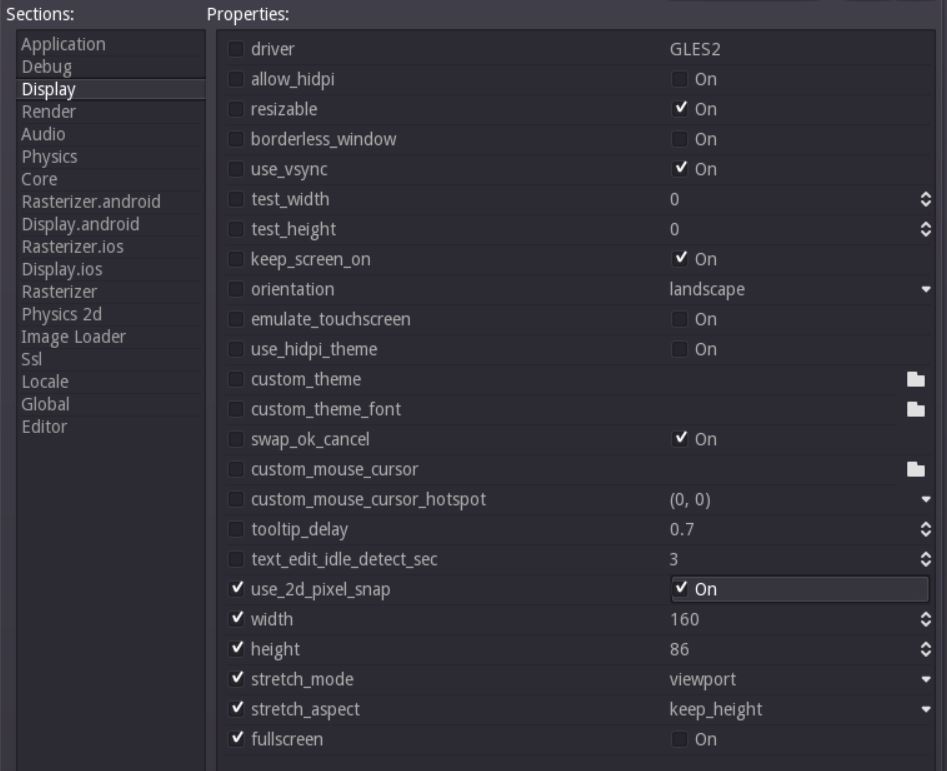
So, before we go into coding, we need to modify our display settings at Project Setting. Open Project Setting by clicking Scene - Project Setting - Display. Now change the width = 160, height = 86, stretch_mode = viewport, stretch_aspect = keep_height and use_2d_pixel_snap = on.
Scripting Camera
Modify Camera2D option in Inspector by disabling the H Enabled and V Enabled, and set the Smoothing Speed to 0. You can play a bit with Offset value, my setup is (0, -20).
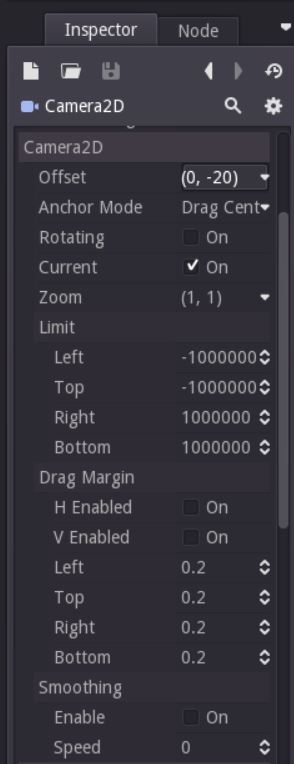
Create a new script and attach into Camera2D, save it as camera.gd, and write the code
|
|
onready will initializes the variable when the node is ready, including the child of node
As I said before, we make the camera position value into integer number (ex 1, 2, 3, 10), so we need to call round to make it integer.
Add New Code into Player Script
The camera always follow the player and the position is always same as player position, that was not what we want to achieve. The camera will in front of player, but how to know the character direction? currently we don’t have it, so modify our player script. Add a new variable called var facing_dir = 1 and modify our code at the end of func _fixed_process(delta) and add one new function to get the real center position
|
|
Interpolate the Camera Movement
Now, we have information about player direction and the real center position. Back to camera.gd script and create 2 new variable called export var forward_offset = 60 and export var x_smoothing = .05, then modify our code into like this.
|
|
lerp also called as Linear Interpolation. When calling lerp(from, to, weight), if weight = 0 will return same as from, and if weight = 1 will return same as to
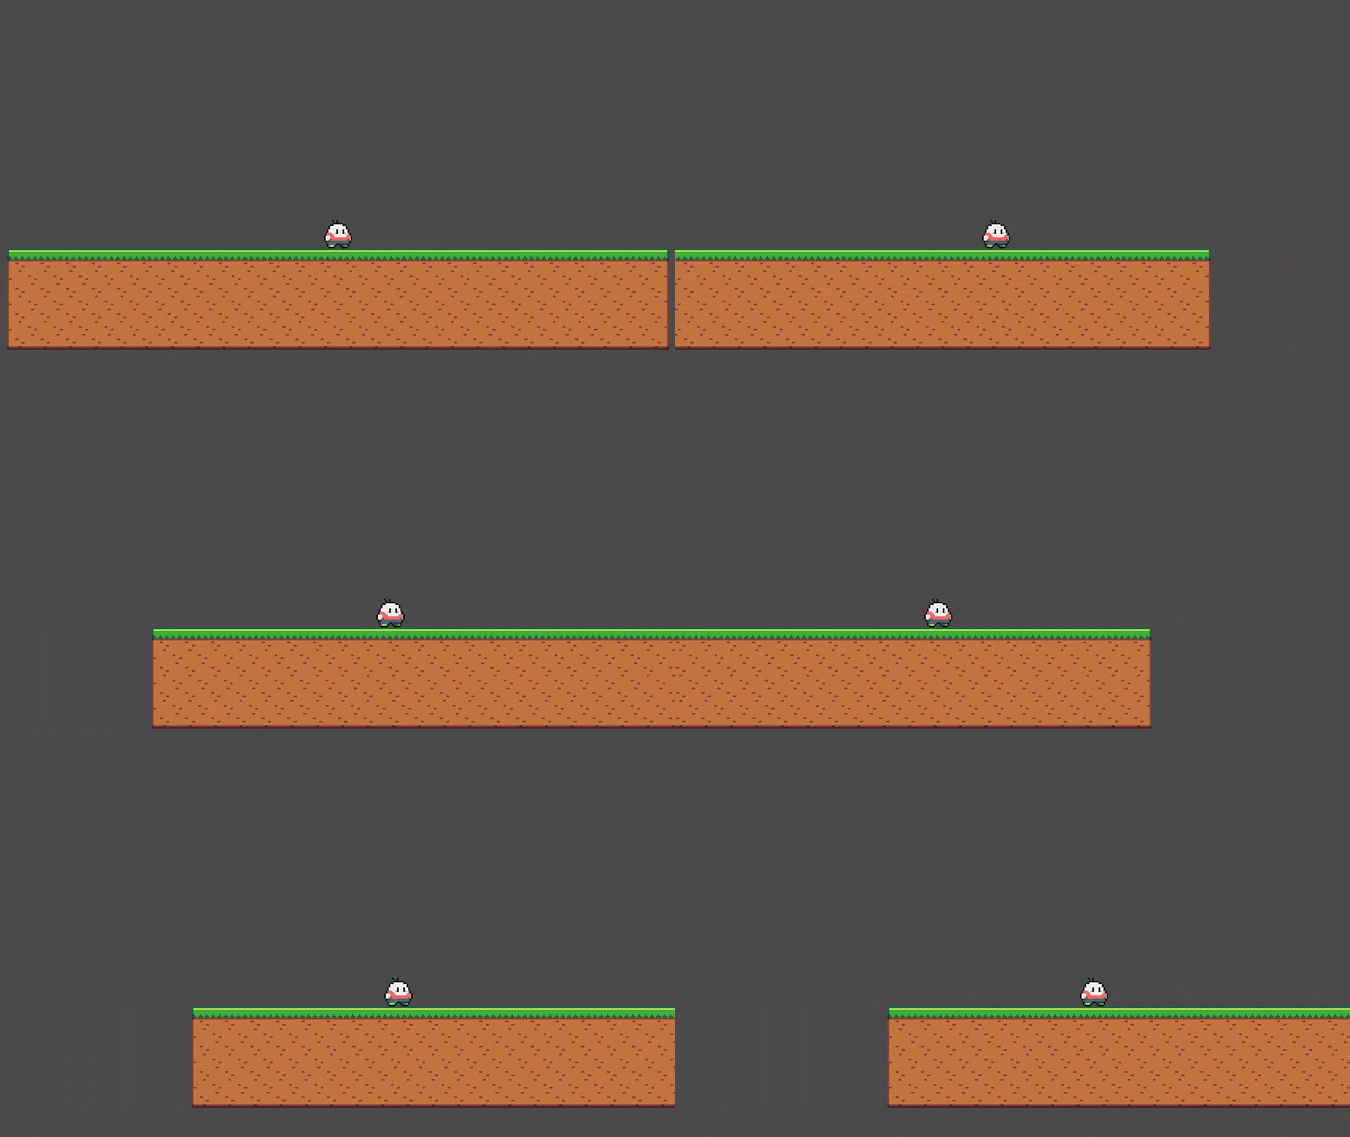
Now, the camera position will in front of player position. Now, let’s interpolate the y axis, create 2 new variable export var max_y_offset = 5 and export var y_smoothing = .1 and add 3 line code
|
|
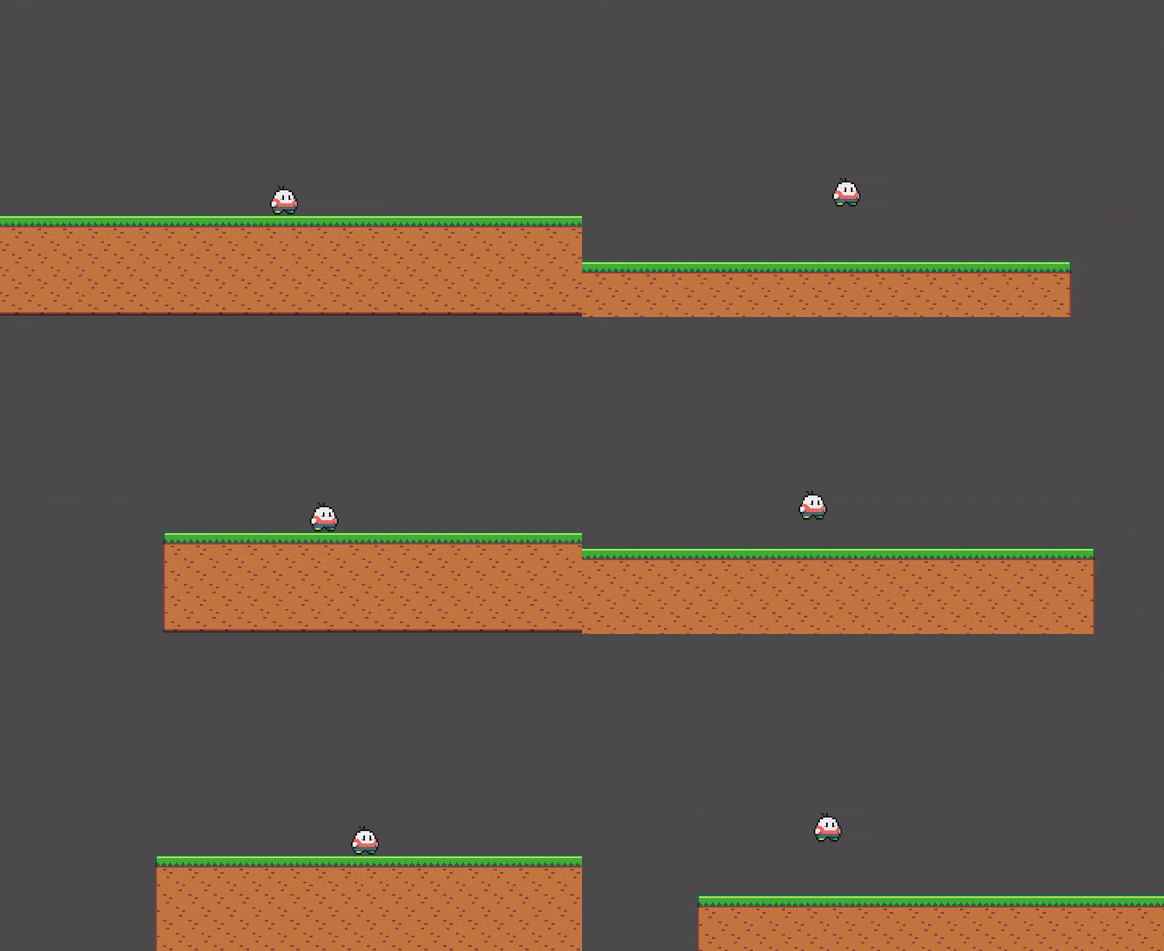
Done! This is the final code
|
|
My player script variables values has been changed, if you want to follow my setup, here we go. You can also playing a bit with script variables, don’t be scared about that
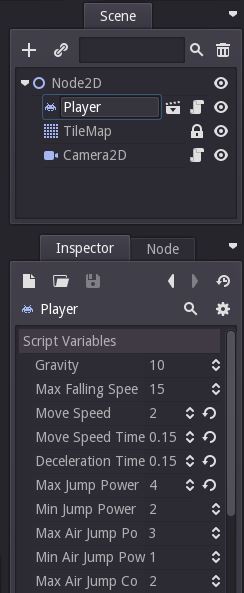
Make sure your camera always at the last order from another node.
Next part, we will setup our setup our player again, animation, direction and other stuff for the next part