Parallax Background and Level Bounds - Platformer Tutorial Part 6 - Godot
This is the sixth part of the tutorial creating platformer game on Godot Engine. In this tutorial I will explain using parallax background node and make level bounds.
- Part 1 : Preparation
- Part 2 : Player Creation
- Part 3 : Player Creation 2
- Part 4 : Tilemap and Camera
- Part 5 : Player Animation
- Part 6 : Parallax Background and Level Bounds
- Part 7 : Character Controller and Enemy
Parallax Background
Godot provides Parallax Background node, we don’t need to code our background because what we need is already in Parallax Background node. Create a new Parallax Background node inside our root node. Inside ParallaxBackground node, create a new ParallaxLayer node and inside ParallaxLayer node, create a new Sprite node. So this is how it looks like.
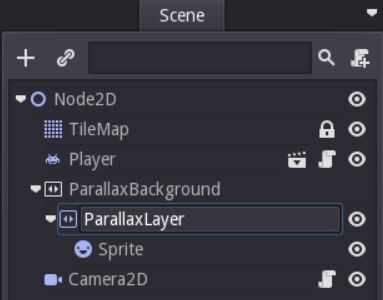
ParallaxBackground : Container node for parallax layer, all ParallaxLayer must be inside ParallaxBackground. ParallaxBackground also has inspector option, you can learn more by visiting Godot documentation.
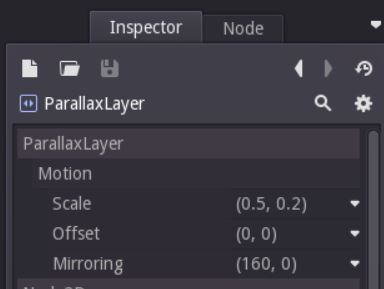
ParallaxLayer : Container for parallax sprite. Drop all sprite into this layer and will be automatically moving depending on camera movement. ParallaxLayer has inspector option for motion. scale for movement speed, 1 makes sprite not moving (only repeating), 0 makes sprite always follow camera movement. offset as it says, for offset. mirroring makes sprite will repeating after a certain point.
Setup Sprite
This time, our sprite configuration is a little bit different. Load our texture as we used to be. After that, disable the Centered option, this makes our sprite start from top left, this is IMPORTANT for making parallax. Next activate the Region and set the Region Rect into (0, 176, 160, 128). As you can see, we using Region Rect instead of VFrames and HFrames. Region Rect cut our sprite directly from a specific point.
Setup Parallax Layer
Select the ParallaxLayer node and setup the Motion. Set the Scale value to (0.5, 0.2), you can play this value. Set the Mirroring to (160,0).
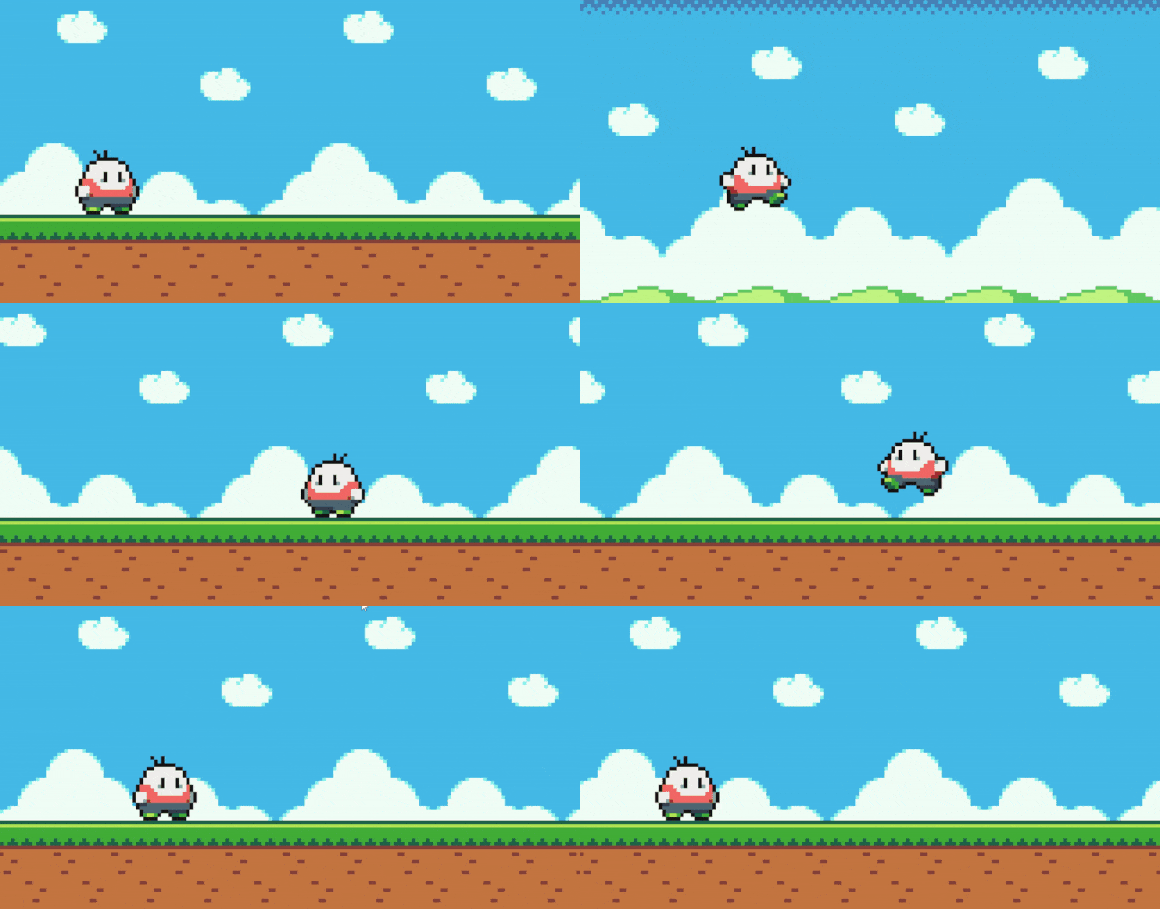
Our Parallax Background ready! Just give it a try..
Level Bounds
Level bounds have 4 points, left, top, right, bottom. The function is creating bounds for the level. The camera will only render inside the bounds. Also, player can’t move outside of the level bounds.
Restrict Camera Render Only Inside Level Bounds
Create Node2D inside the root node, rename it as “Bounds”. Change the Bounds scale according to how large our level world.
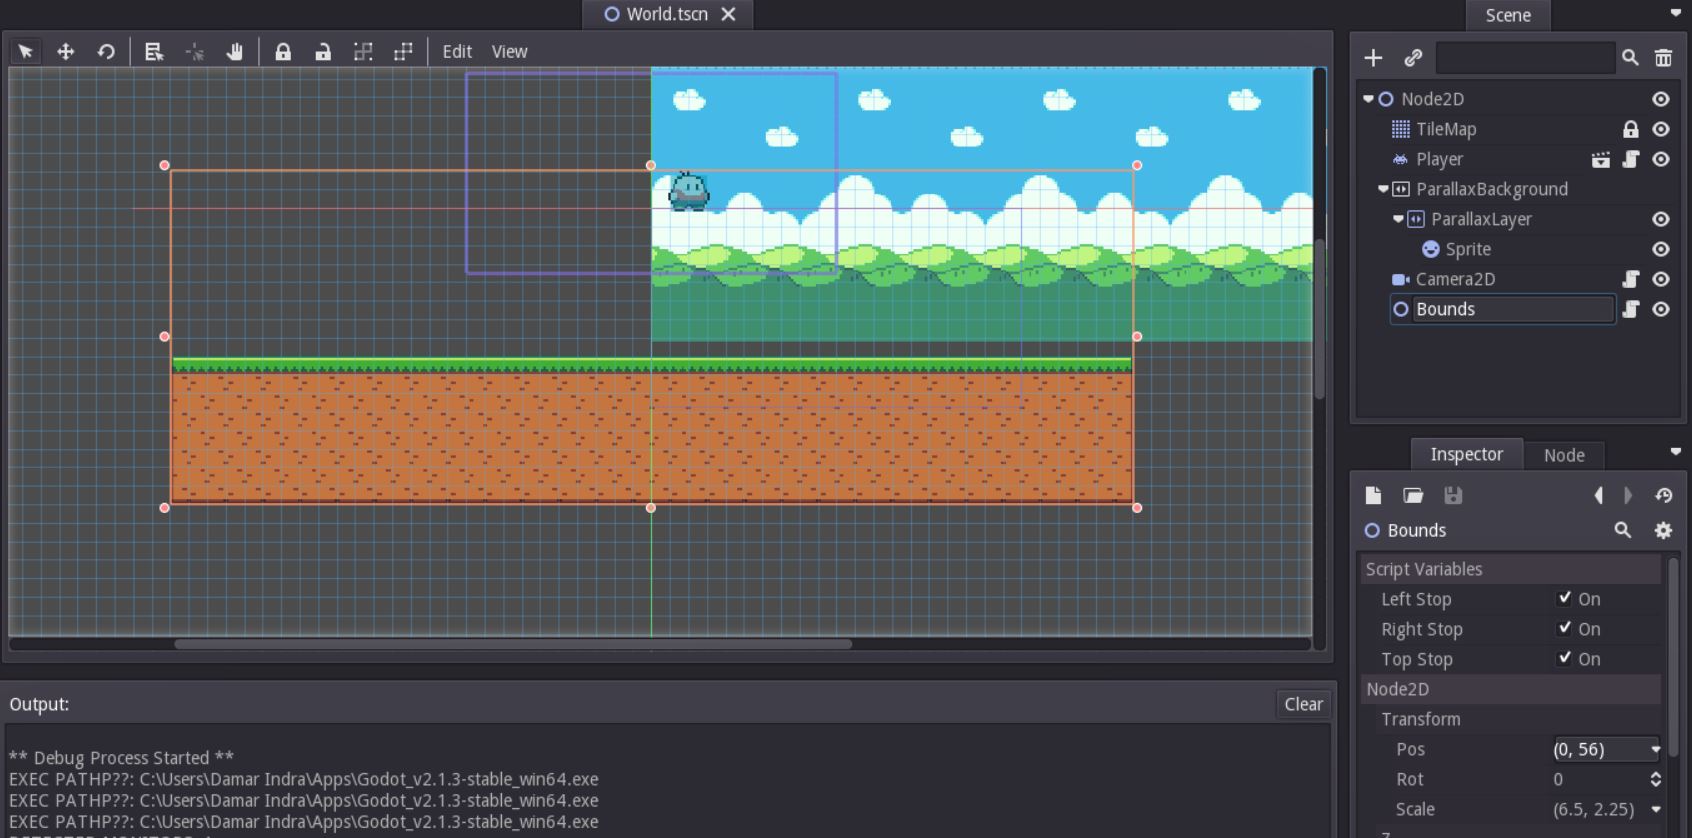
Create a script level_bounds.gd and attach it into Bounds. Then write the code
|
|
Node2D forming rectangle according to the scale. (1,1) of scale means (64,64) pixels.
The script only contains method to get each edge position. Next, open camera.gd and add this code
|
|
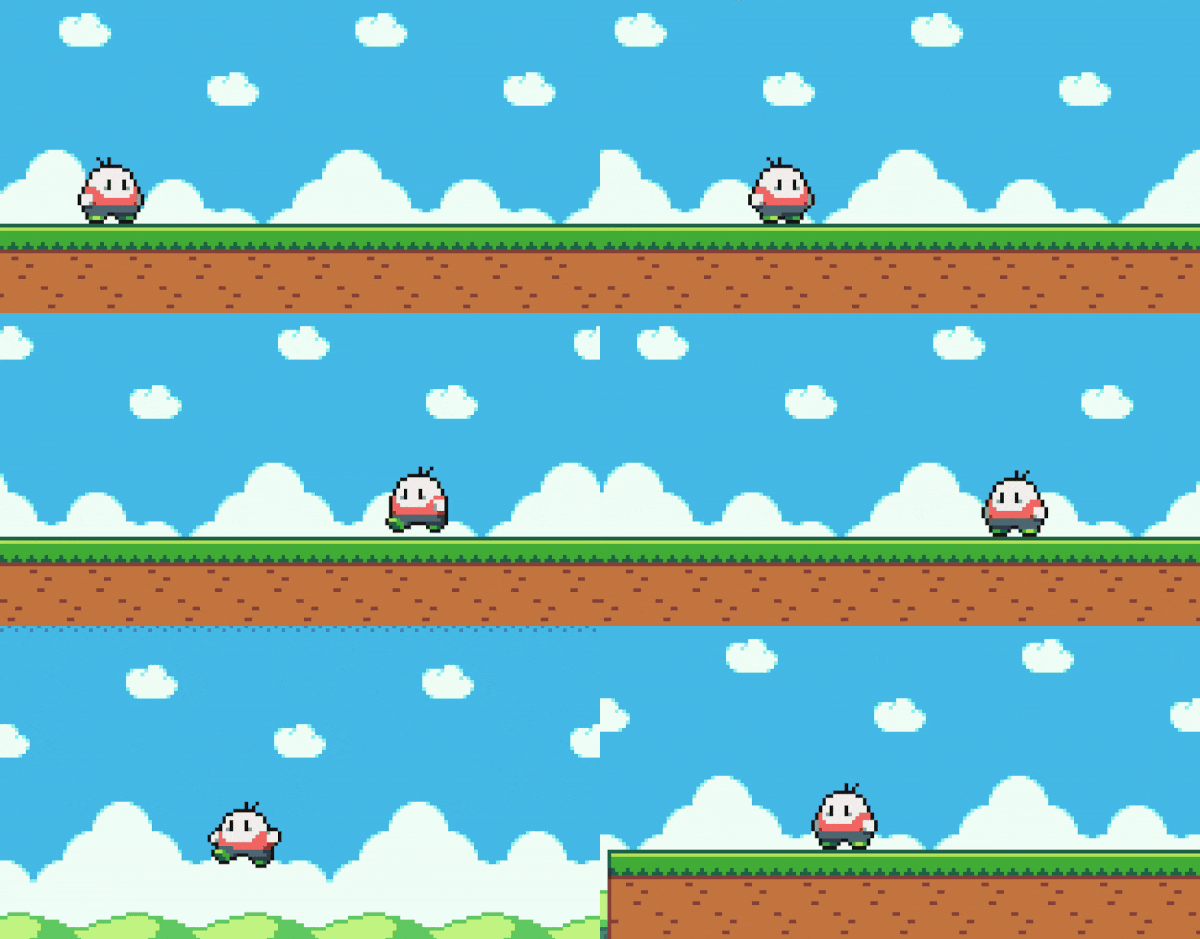
The script will restrict the camera movement to only render inside the level bounds. So make sure your level bounds is bigger than camera render area.
Restrict Player Movement
Now, restrict the player movement, but we only using left, right, and top. Basically, when player falling down will die right? so we don’t need to restrict the bottom side. Open the level_bounds.gd and add this variable
|
|
True means stopping the player movement, and false means let the player passing. Next, modify our player.gd
|
|
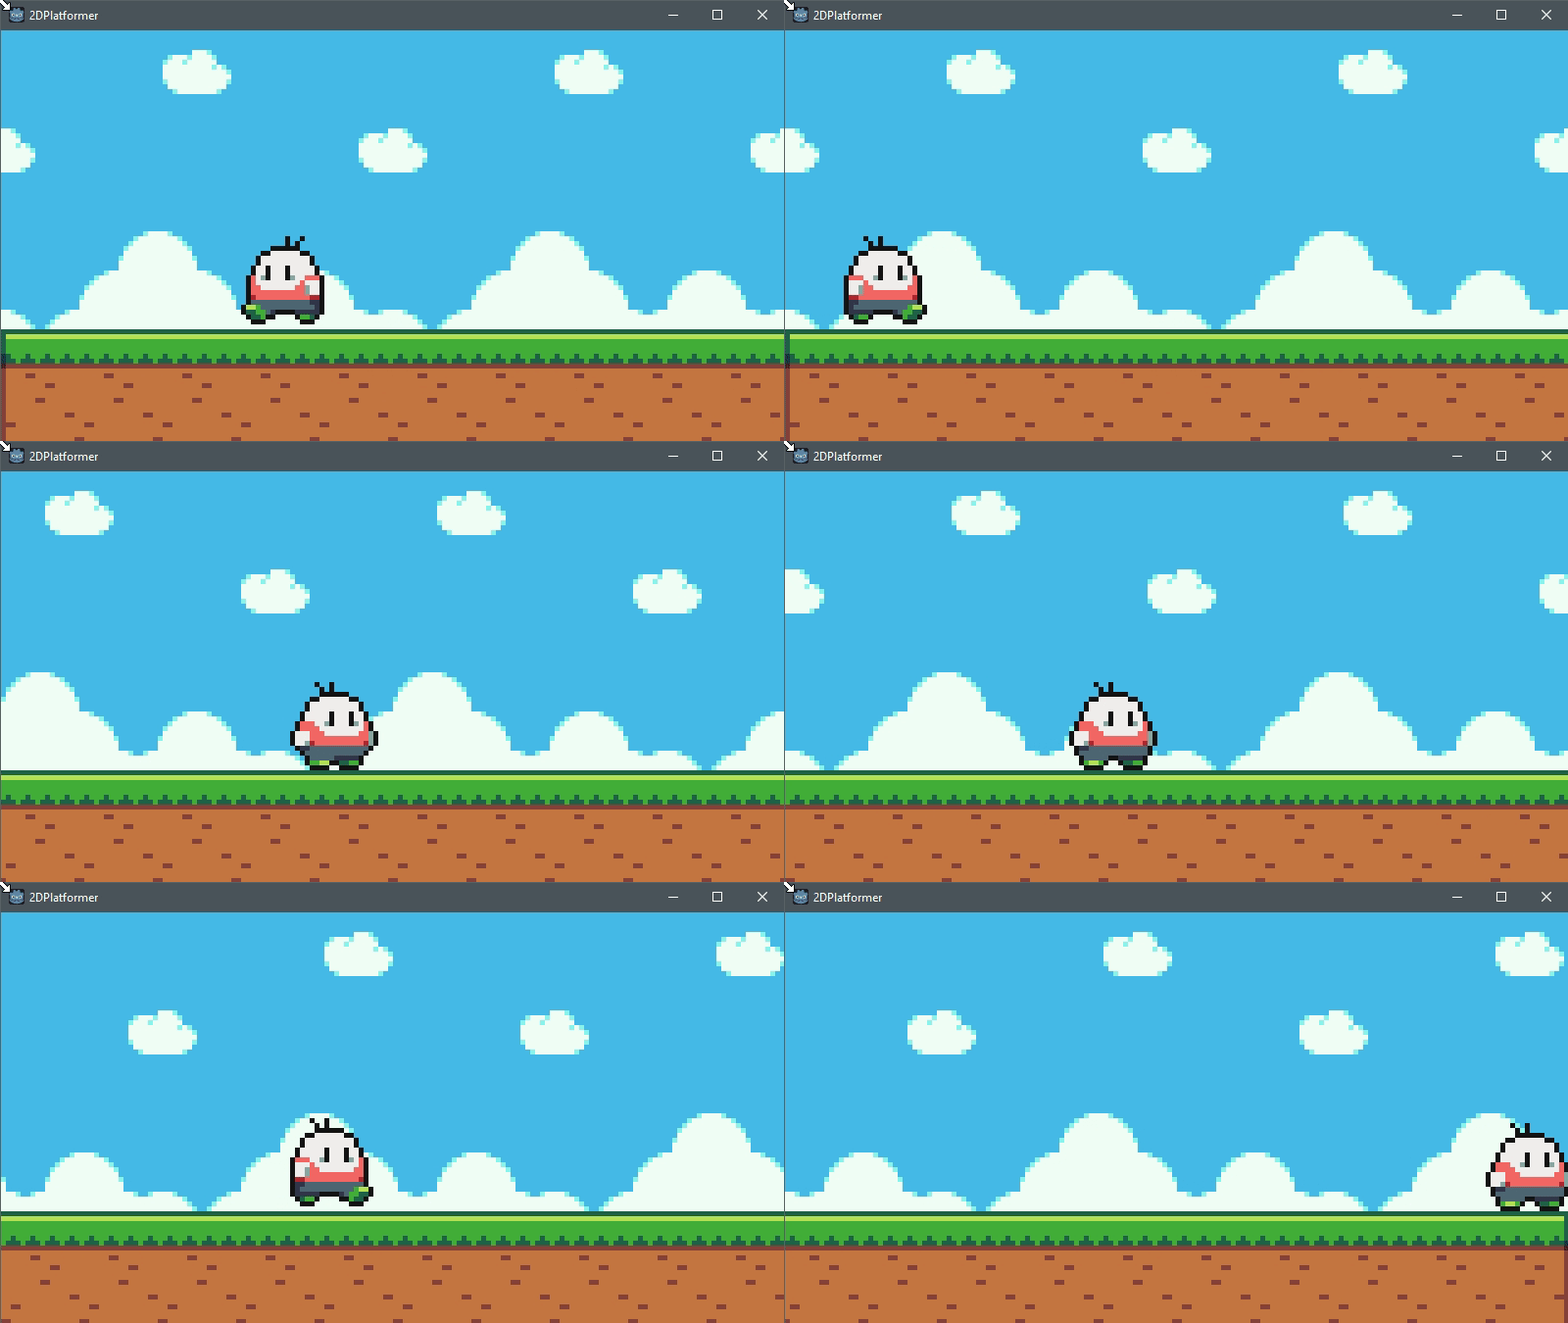
The result will be like this
Next tutorial will be about enemy, so there will be explanation about Character Controller and Enemy