Character Controller and Enemy - Platformer Tutorial Part 7 - Godot
This is the seven part of the tutorial creating platformer game on Godot Engine. In this tutorial, we will refactoring the player.gd code structure and creating Enemy.
- Part 1 : Preparation
- Part 2 : Player Creation
- Part 3 : Player Creation 2
- Part 4 : Tilemap and Camera
- Part 5 : Player Animation
- Part 6 : Parallax Background and Level Bounds
- Part 7 : Character Controller and Enemy
Refactoring the Player and Create Character Controller
Character Controller is a script to calculate our character movement. Currently, we have a player and we code all movement calculation inside player.gd. Now we need to Refactor our player.gd script and move some code inside player.gd into character controller script. Our first job is Refactor player.gd
Character Controller Script
Open Script Window (press F3), click File - New, and name it as character_controller.gd. Copy this code and paste to character_controller.gd
|
|
Then copy this code into our player.gd
|
|
Now, our player.gd only receive input and other stuff such animation. All movement calculation inside calculate_movement and collision_handling function.
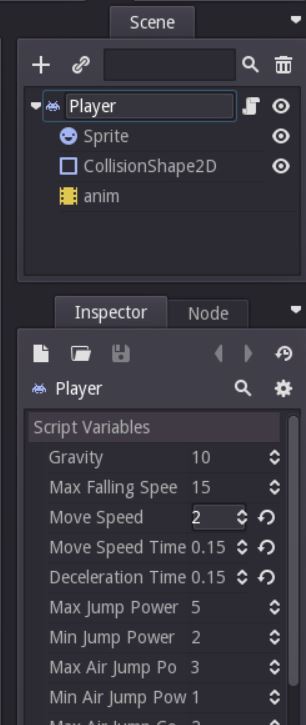
Try it, make sure the game can run.
IMPORTANT : I ended up changing my Player sprite Centered option into false and reposition the CollisionShape2D. This is not a big difference, I just want to make sure my game is at pixel perfect.
Create Enemy Node
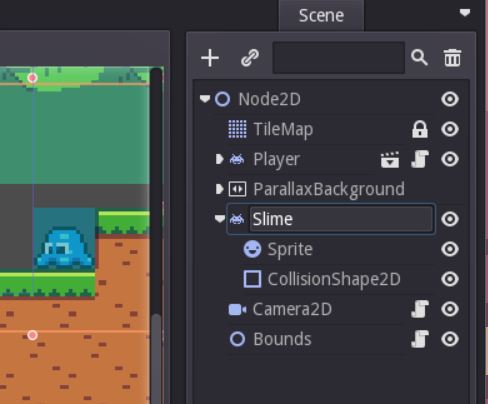
Enemy is like player, the main node is KinematicBody2D. Create a KinematicBody2D, rename it into Slime, and create Sprite and CollisionShape2D inside Slime. After that what you need to do is
- Setup sprite as usually. Load the texture, set the Centered = false, VFrames = 20, HFrames = 22 and Frames = 6.
- setup the CollisionShape2D with RectangleShape2D, and set the size according to the sprite size.
Enemy Script
Create a script and give it a name “enemy.gd”, attach it into Slime. Different with the player which is using user input for any action, enemy take all input from code. So, we need to make the behavior. For the first time, the behavior is quite simple, just walk and if detect wall, reverse the walk direction. The code will look like this
|
|
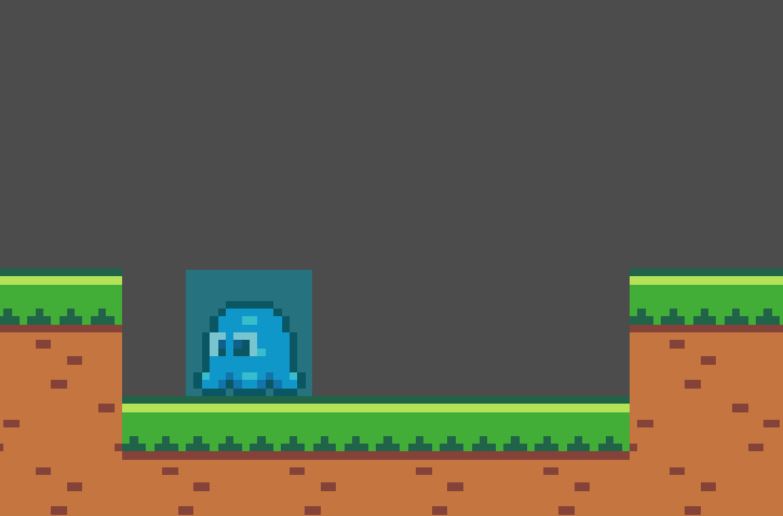
Remember, there is no hole handling, so if the enemy walks into the hole, the enemy will falling down. So make the level properly, for example like this
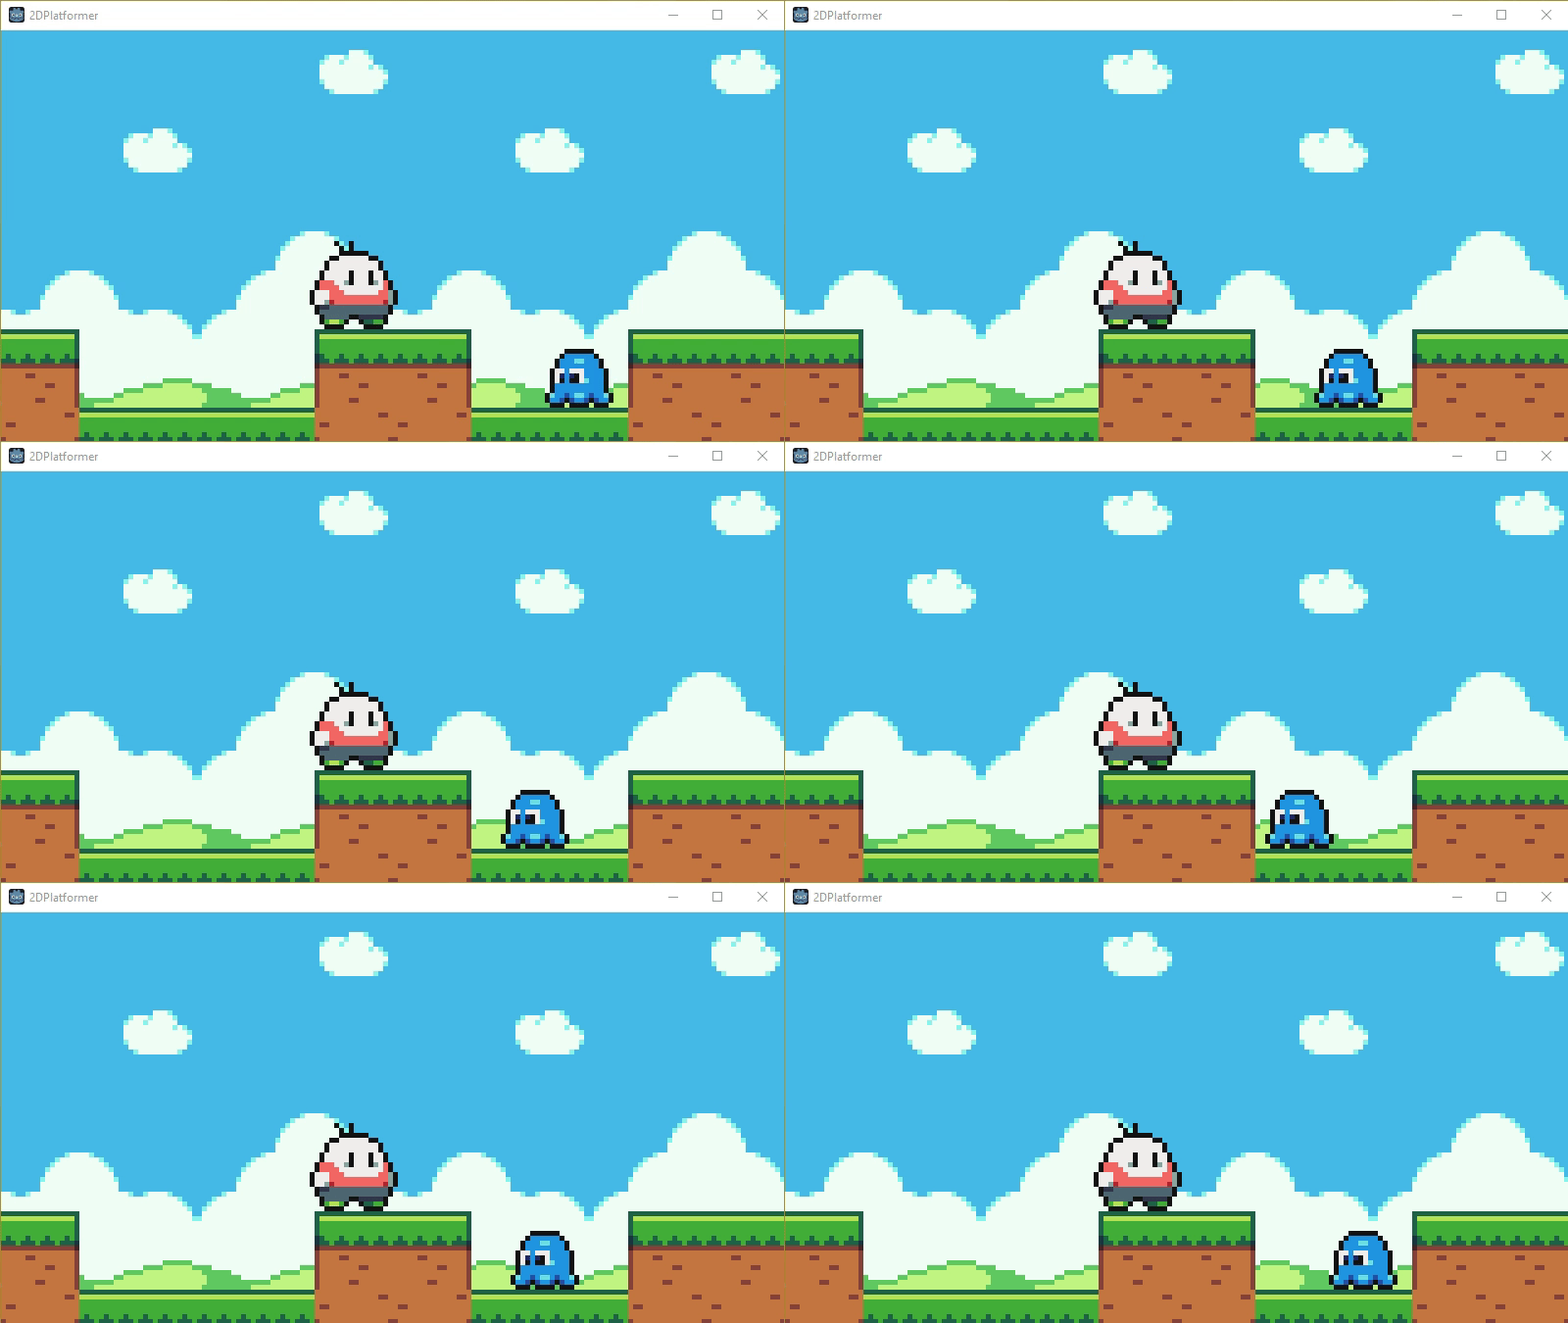
You can try to play it, the enemy will move left and right. Don’t forget to lower the Move Speed value, I’ve set it to 0.2.
Enemy Animation
Create AnimationPlayer node inside Slime node and rename it to “anim”. Then create Idle and Move animation. I do not explain how to do this because the way we create animation is not different as before. After that, add this code into enemy.gd
|
|
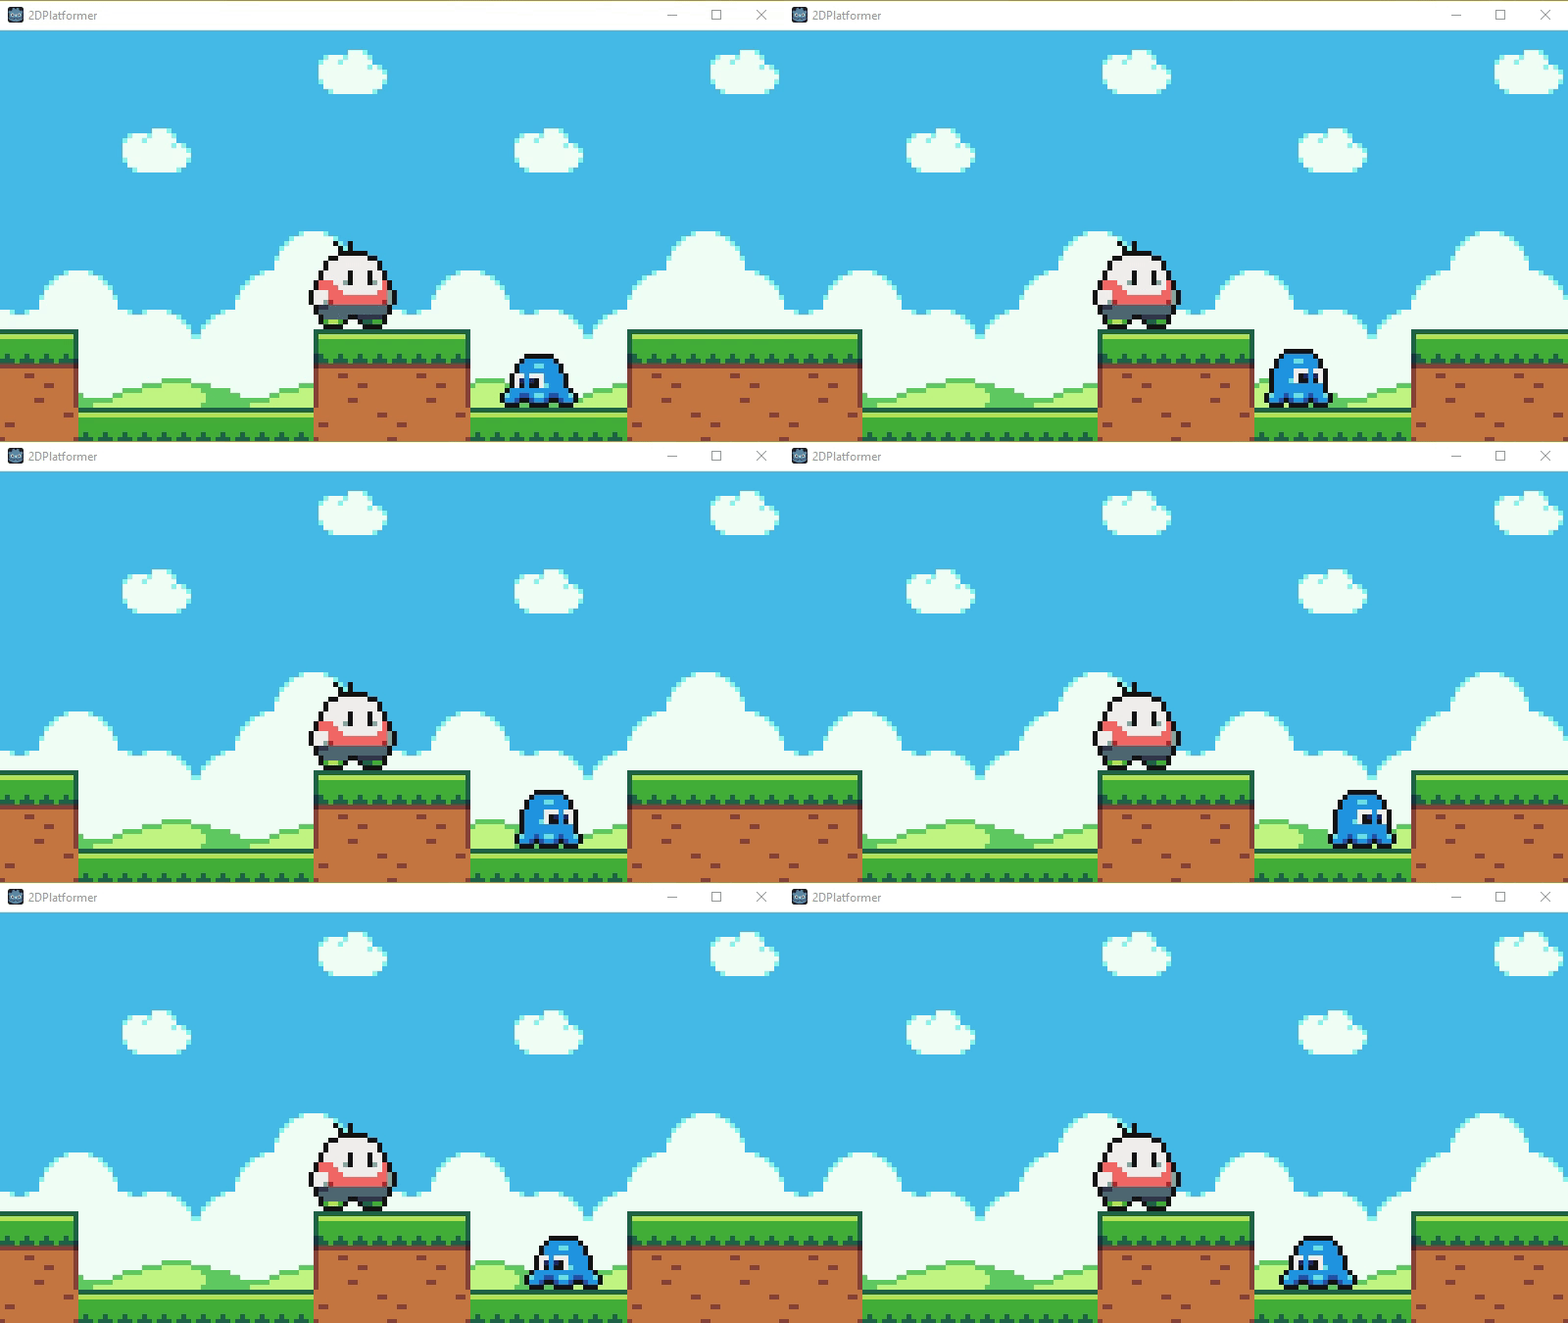
Hole Detection
The behavior is not quite different with wall detection when a hole is in front of slime, then reverse the direction movement. However, this cannot be done without Raycast2D. There is 2 way to do raycast, directly from the script or create the node from editor and control from a script. I will do it directly from the script, it easier for me though. Open enemy.gd and add modify the code
|
|
Raycast : Query the closest object intersecting a ray. Vector Ray can be set by calling set_cast_to(Vector2). Don’t know how ray works? Imagine you have a laser, laser light will stop after reaching an object. Yes, a ray is like a laser.
Try to play it with Debug Visible Collision Shapes enabled, at the right side of Slime you will see arrow down indicating raycasting down.
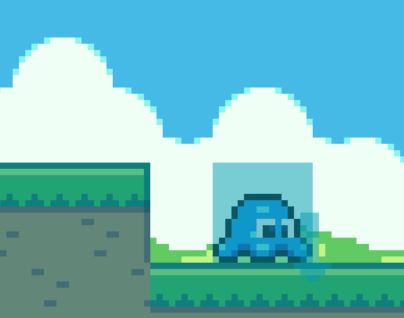
When slime moving left, raycast still at the right side right? we need to change the raycast position whenever the slime is changing direction
|
|
You can test it now, the position of Raycast must be change when the slime direction is changing.
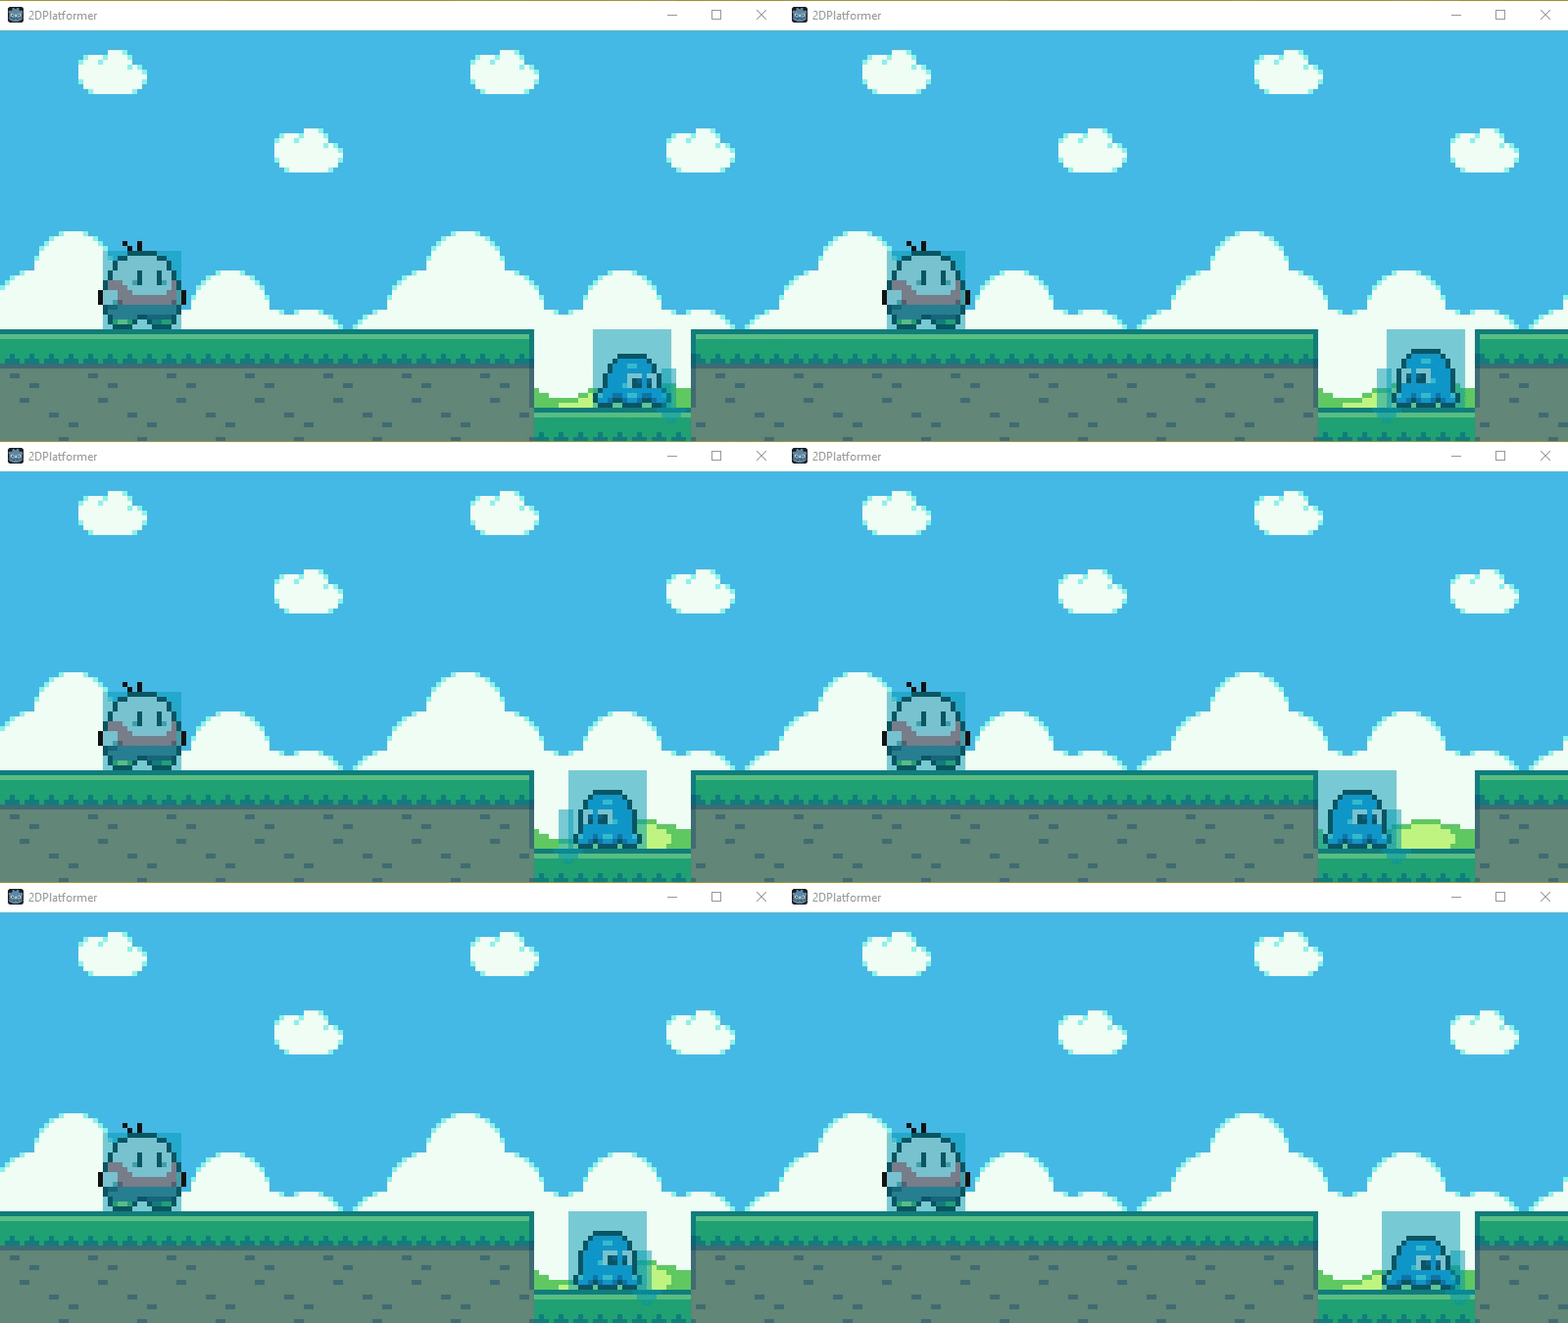
We haven’t code the hole detection yet. Modify again the enemy.gd
|
|
Now, modify our TileMap and test it.
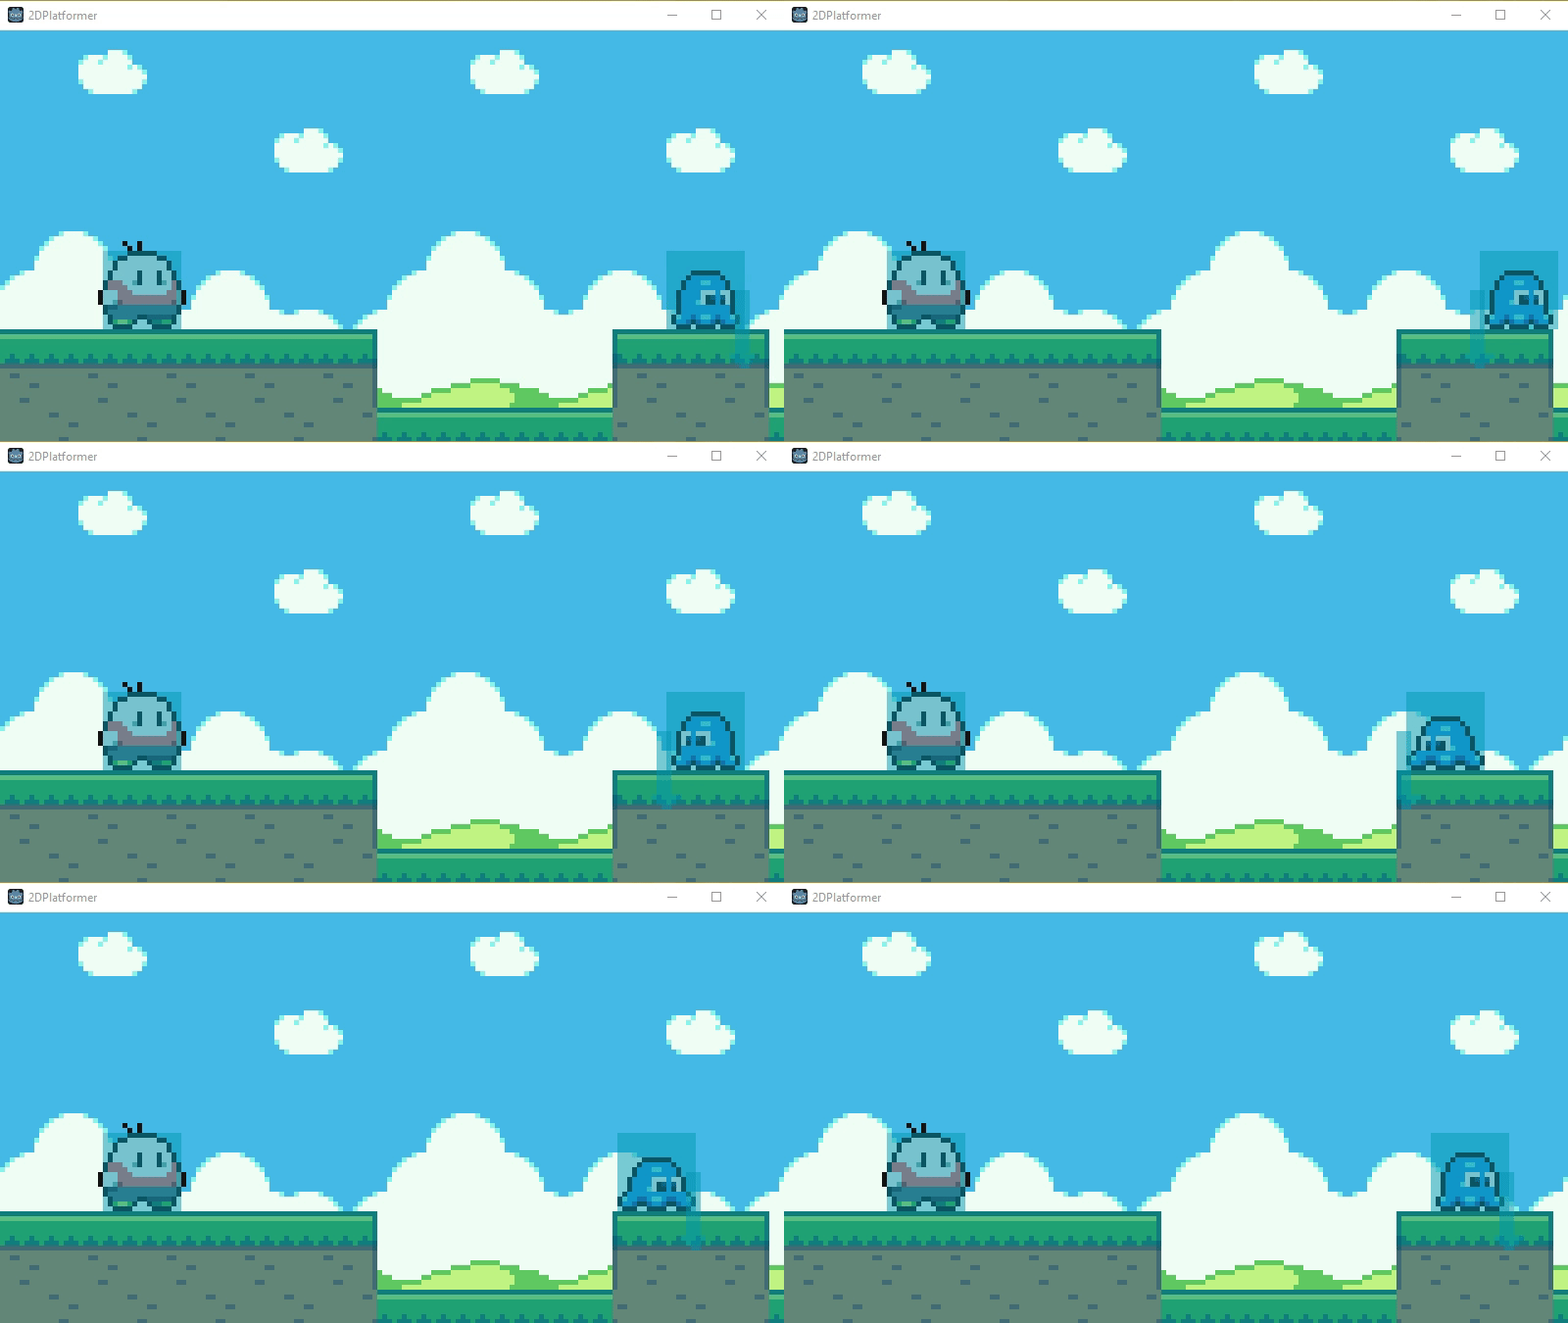
It seems fine, but the problem will occur when slime reaches the level bounds. Slime will stay at the edge of level bounds.
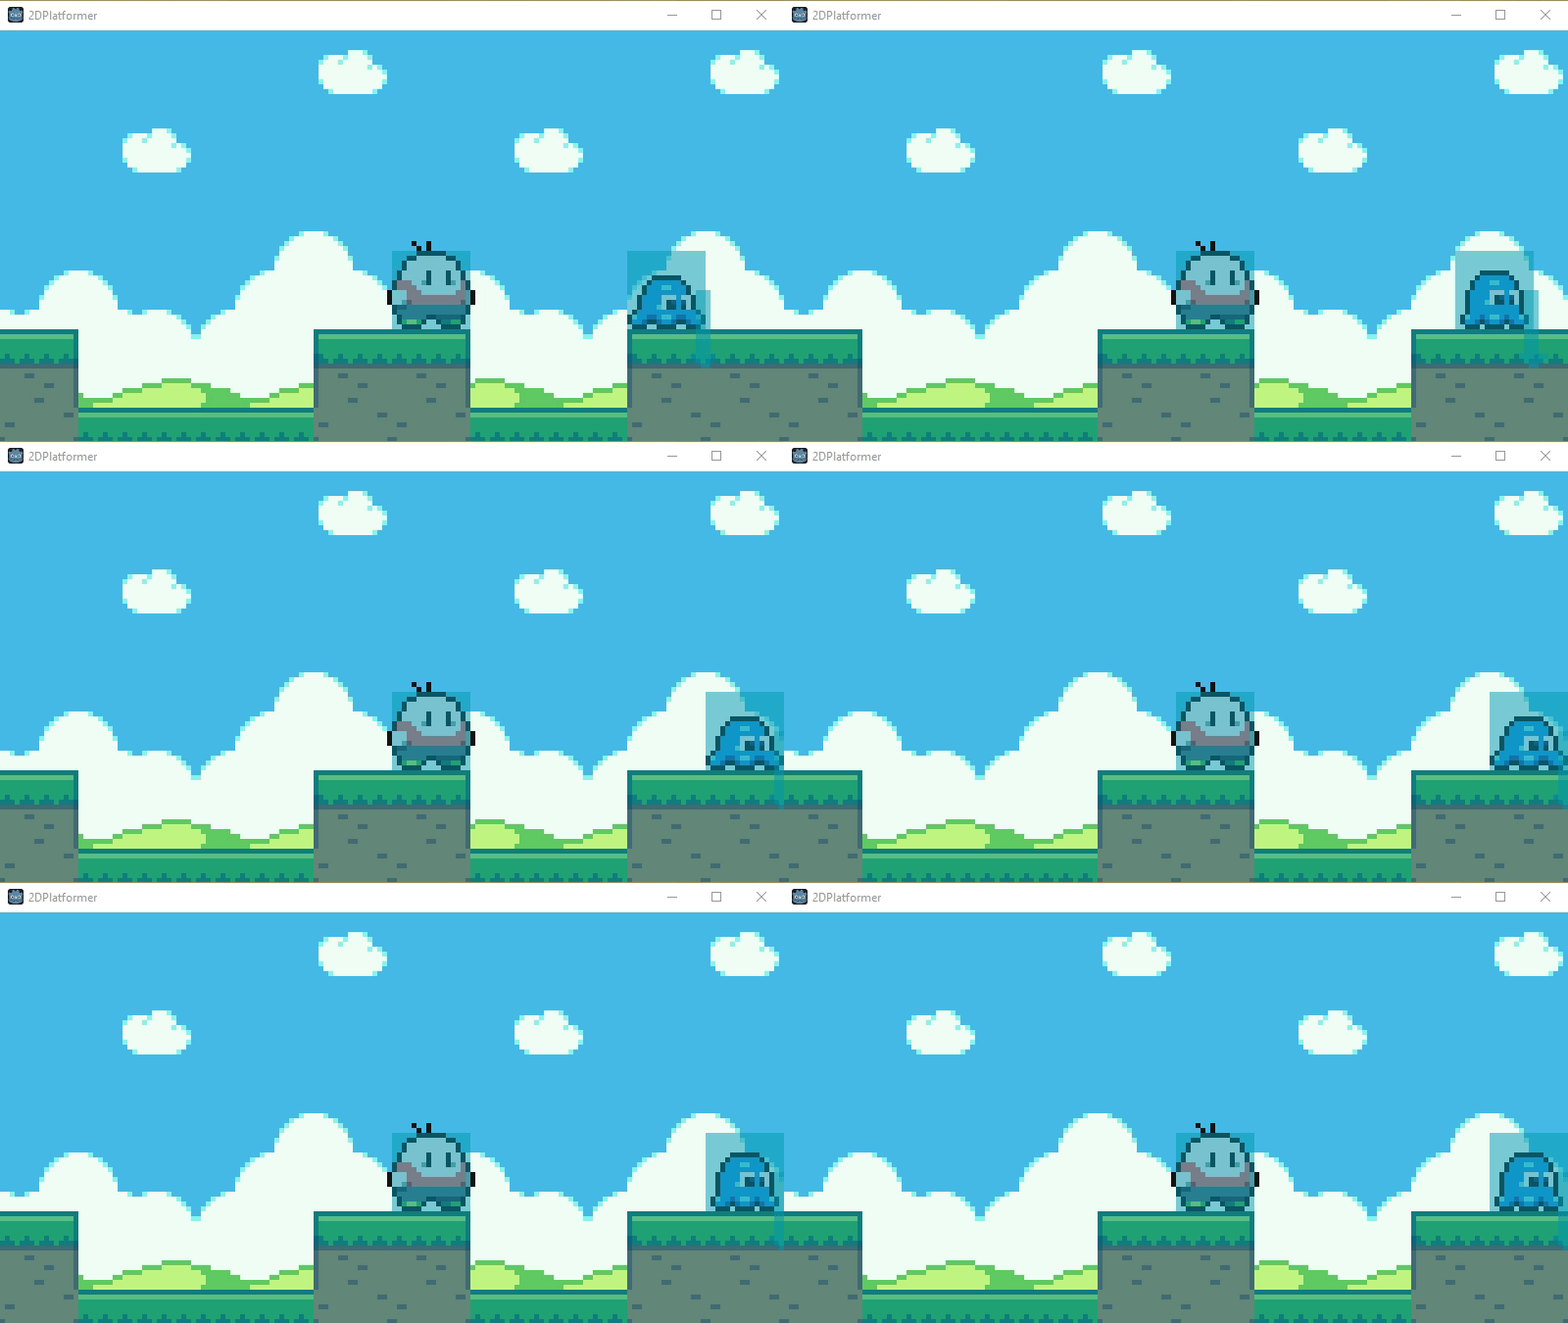
We have more job now..
|
|
Test it and place the slime at the edge of level bounds
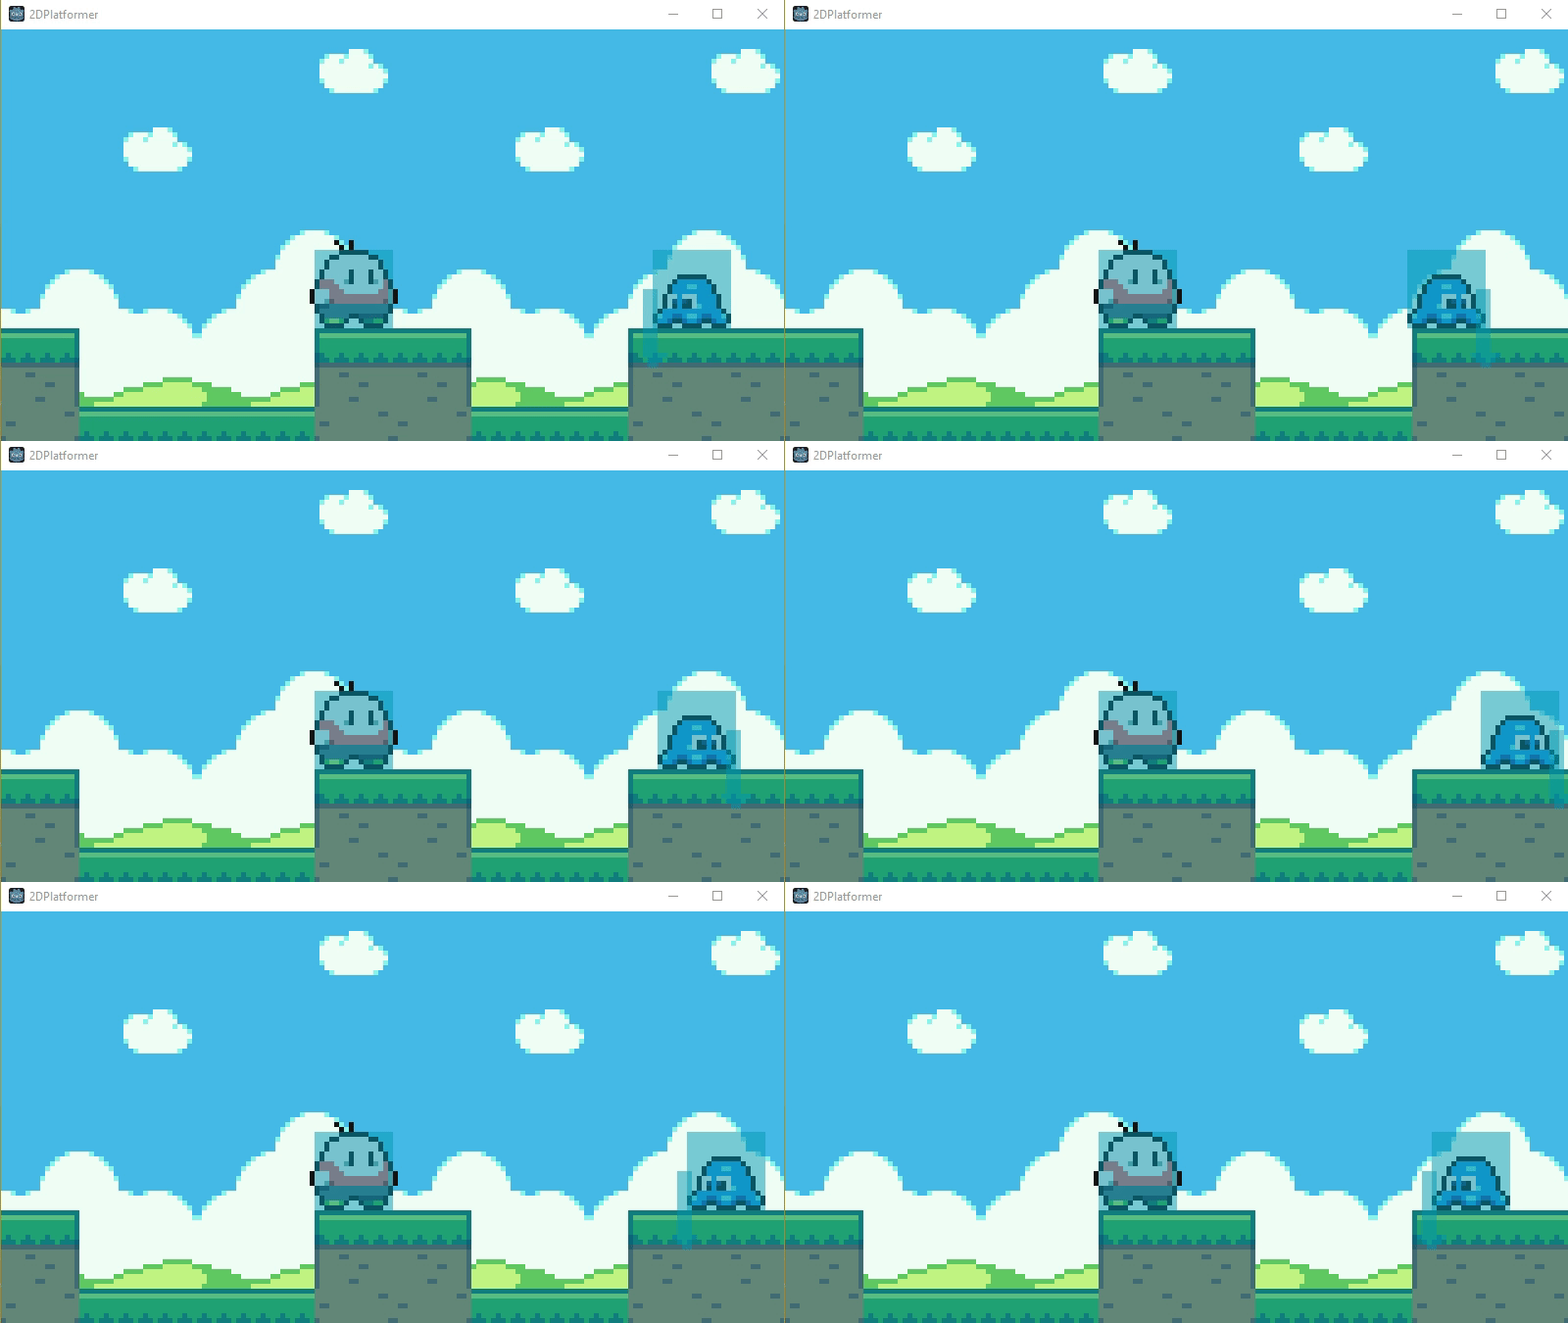
This part ended here, next part will be the .