godot-1-7-interaction-between-player-and-enemy
This is the eight part of the tutorial creating platformer game on Godot Engine. In this tutorial, we will create interaction between player and enemy.
- Part 1 : Preparation
- Part 2 : Player Creation
- Part 3 : Player Creation 2
- Part 4 : Tilemap and Camera
- Part 5 : Player Animation
- Part 6 : Parallax Background and Level Bounds
- Part 7 : Character Controller and Enemy
- Part 8 : Interaction Between Player and Enemy
Finding the Enemy
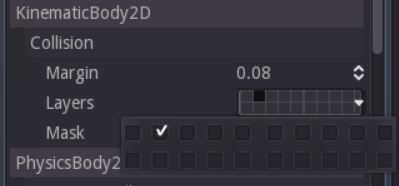
First of all, we need the collision information of the player, whether the collision between enemy or the other. To know if the collision is between enemy, we can use layer mask as a sign that the collision is between enemy. Layer 1 will be a layer for the enemy node. Change the layer mask value of enemy into like this
Next, change the collision mask value of player into like this
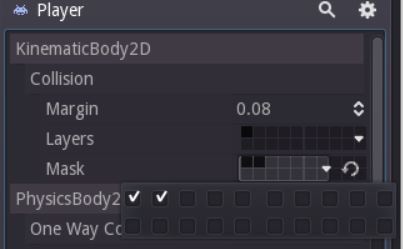
Layer Mask : Like a grouping system for Collision Node Type. You can edit from inspector by changing the Layers value.
Collision Mask : Which mask will interact with the node. You can edit from inspector by changing the Mask value.
How they work? You have 2 Node, Player and Enemy. Player Layer Mask = 1, and Enemy Layer Mask = 2. If Player Collision Mask number 2 is active, then Player can collide with Enemy, if number 2 non-active, Player can’t collide the Enemy. Got it? Between Layer and Collision Mask using bit system, for example
|
|
Detecting the Enemy
The enemy layer is in the 1 (starting index 0), now we just need to check the collision between player and enemy. Open player.gd and modify it
|
|
If you run the scene and make a collision between player and enemy, the Output will print “Enemy”.
Taking Damage
Talking about damage, we also need health right? Basically, character type node has health property, because of that, I will using character_controller.gd to put the health property. Open character_controller and add two new variable export var MAX_HEALTH = 10 and onready var current_health = MAX_HEALTH. Then add a new function to taking damage
|
|
Next, open enemy.gd and add one variable export var damage_given = 1. Next open the player.gd and modify into like this
|
|
Try it and make a collision betwen enemy and see the Output console.
If the result same as above, then your implementation is success!!
Invisible
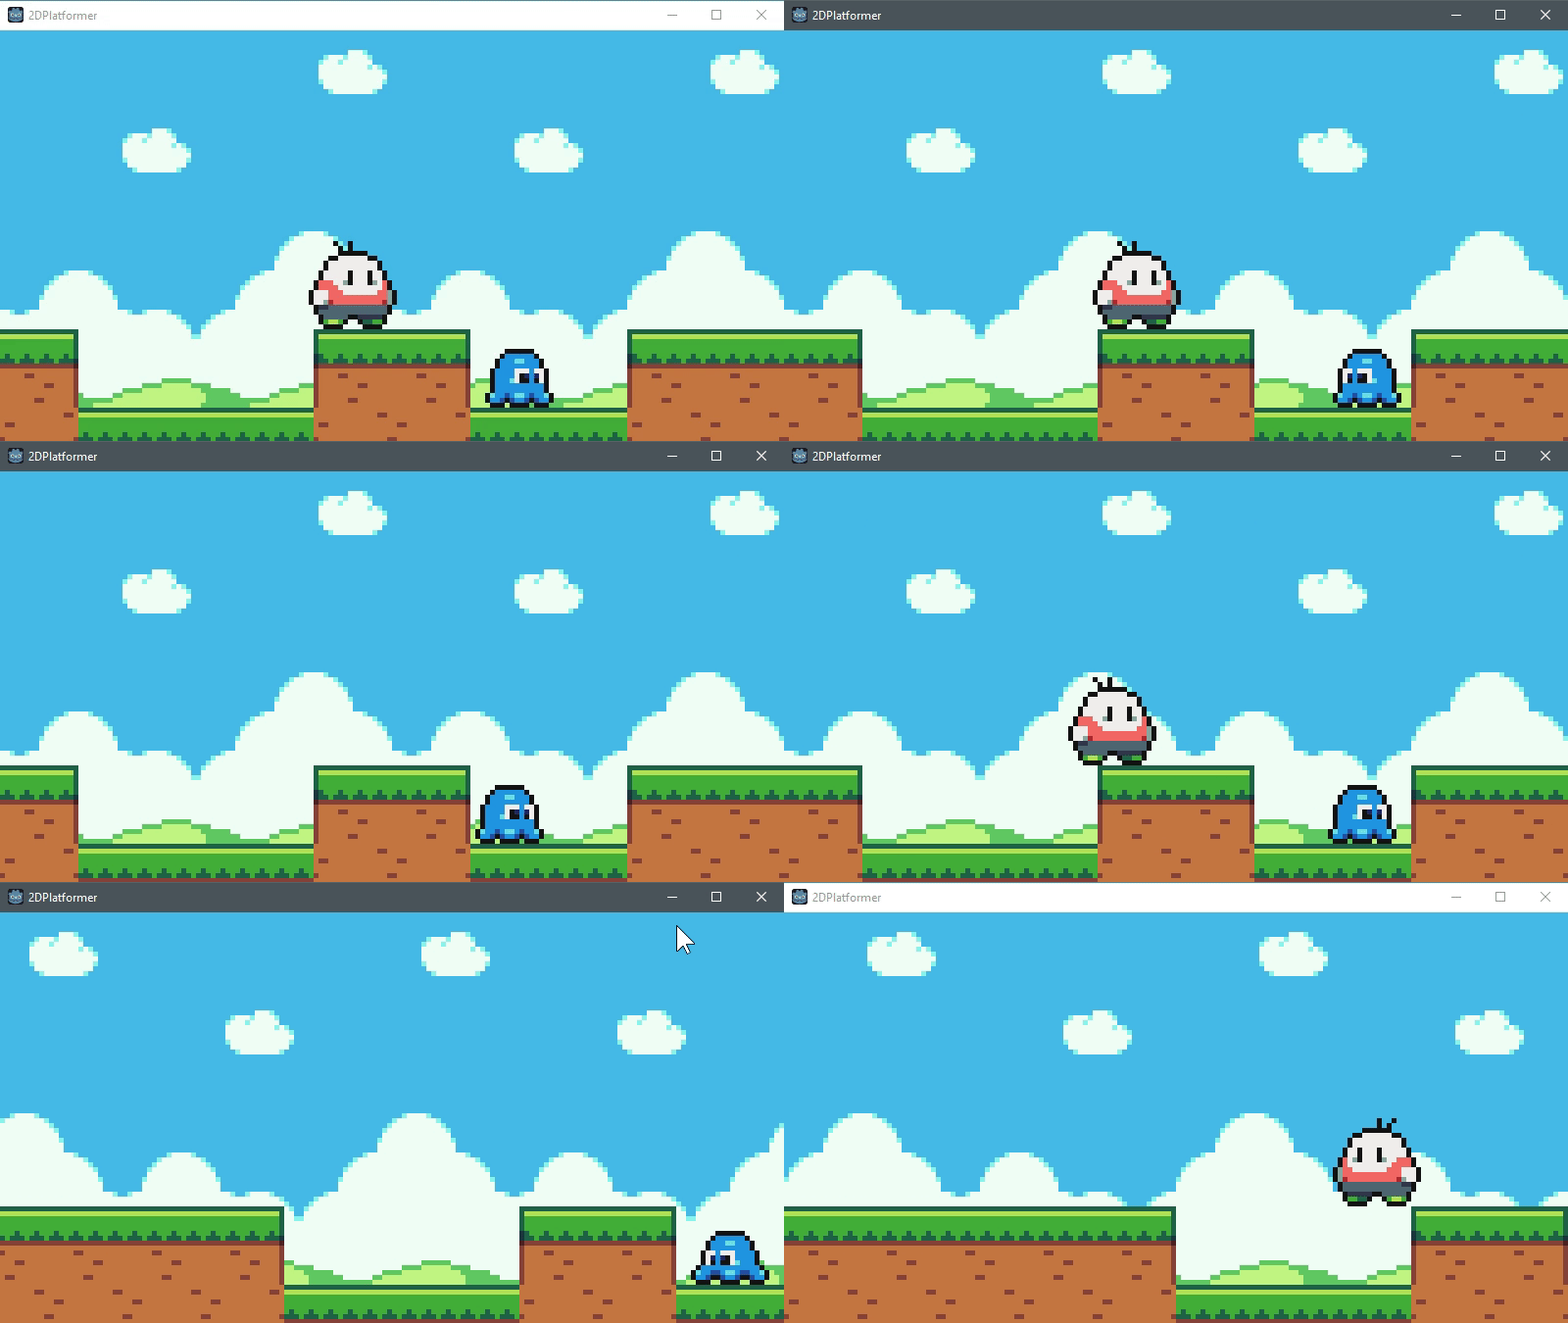
When a character taking damage, the character will become Invisible and take no damage during specific time. Most games indicate that a character is invisible is by flickering the sprite (renderer). Flickering can be achieve by shifting the alpha. Add 3 variables export var INVISIBLE_TIME = 2.0, const flicker_step = 0.1, var invisible_time_done = 0.0, var is_invisible = false and onready var timer = Timer.new() at character_controller.gd. INVISIBLE_TIME is for storing how long character will be at invisible state, flicker_step is time needed to toggle the alpha, timer is for counting the flickering and invisible time and invisible_time_done is for storing how long time has been done. Then, it seems we need to access the Sprite Node, and since we have it inside player.gd and slime.gd, delete the onready var sprite = get_node("Sprite") inside player.gd and slime.gd. Then add a new variable onready var sprite = get_node("Sprite") inside character_controller.gd. So far, what you need to add is
|
|
Next, create the logic flickering, the comment explain it all.
|
|
Try it and make a collision to slime.
Bounce
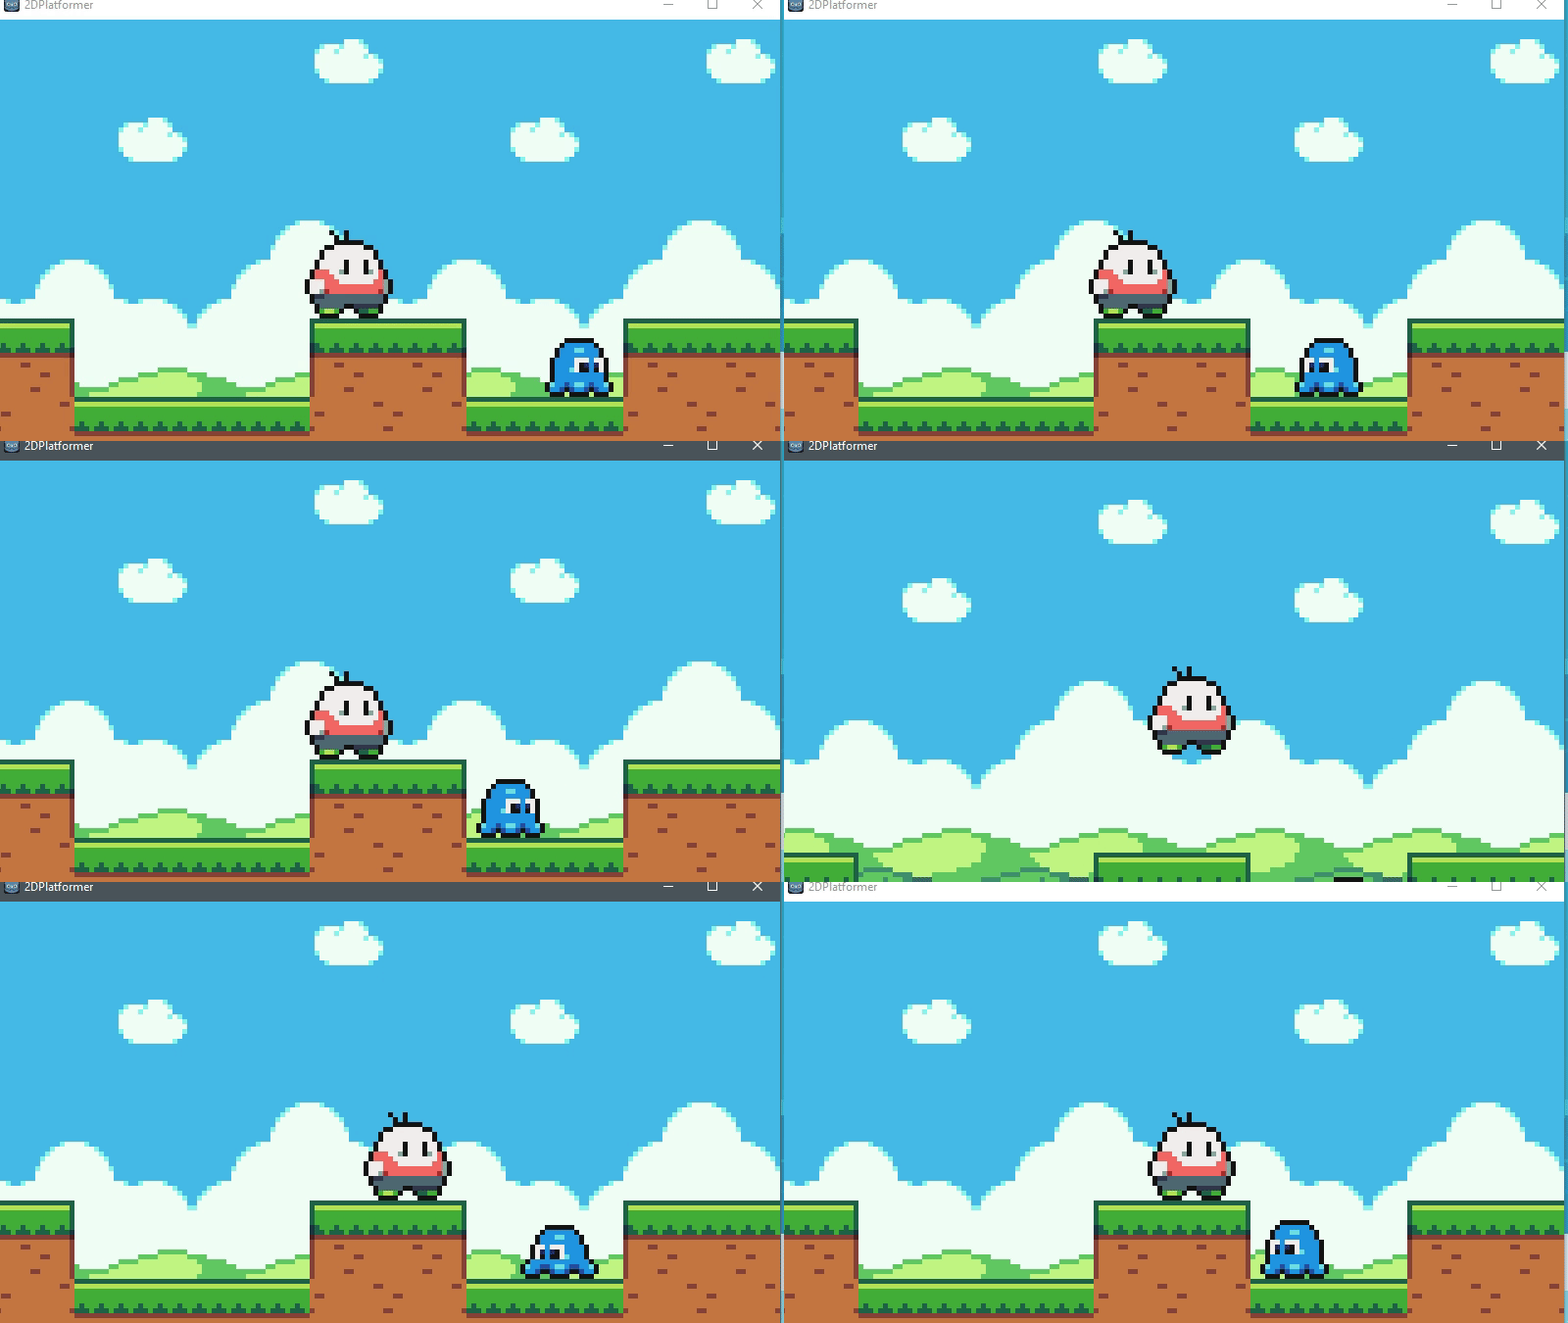
The next section we will make it bounce back while taking damage. While bouncing back, the character can’t be controlled for a while. So let’s do this, modify the character_controller.gd code into like this
|
|
Take Damage Animation
Open the player.tscn and make a new GetDamage Animation Clip. Again, I’m will not explaining process creating animation clip, not different as the previous part. After you’ve done creating animation, now modify player.gd script
|
|
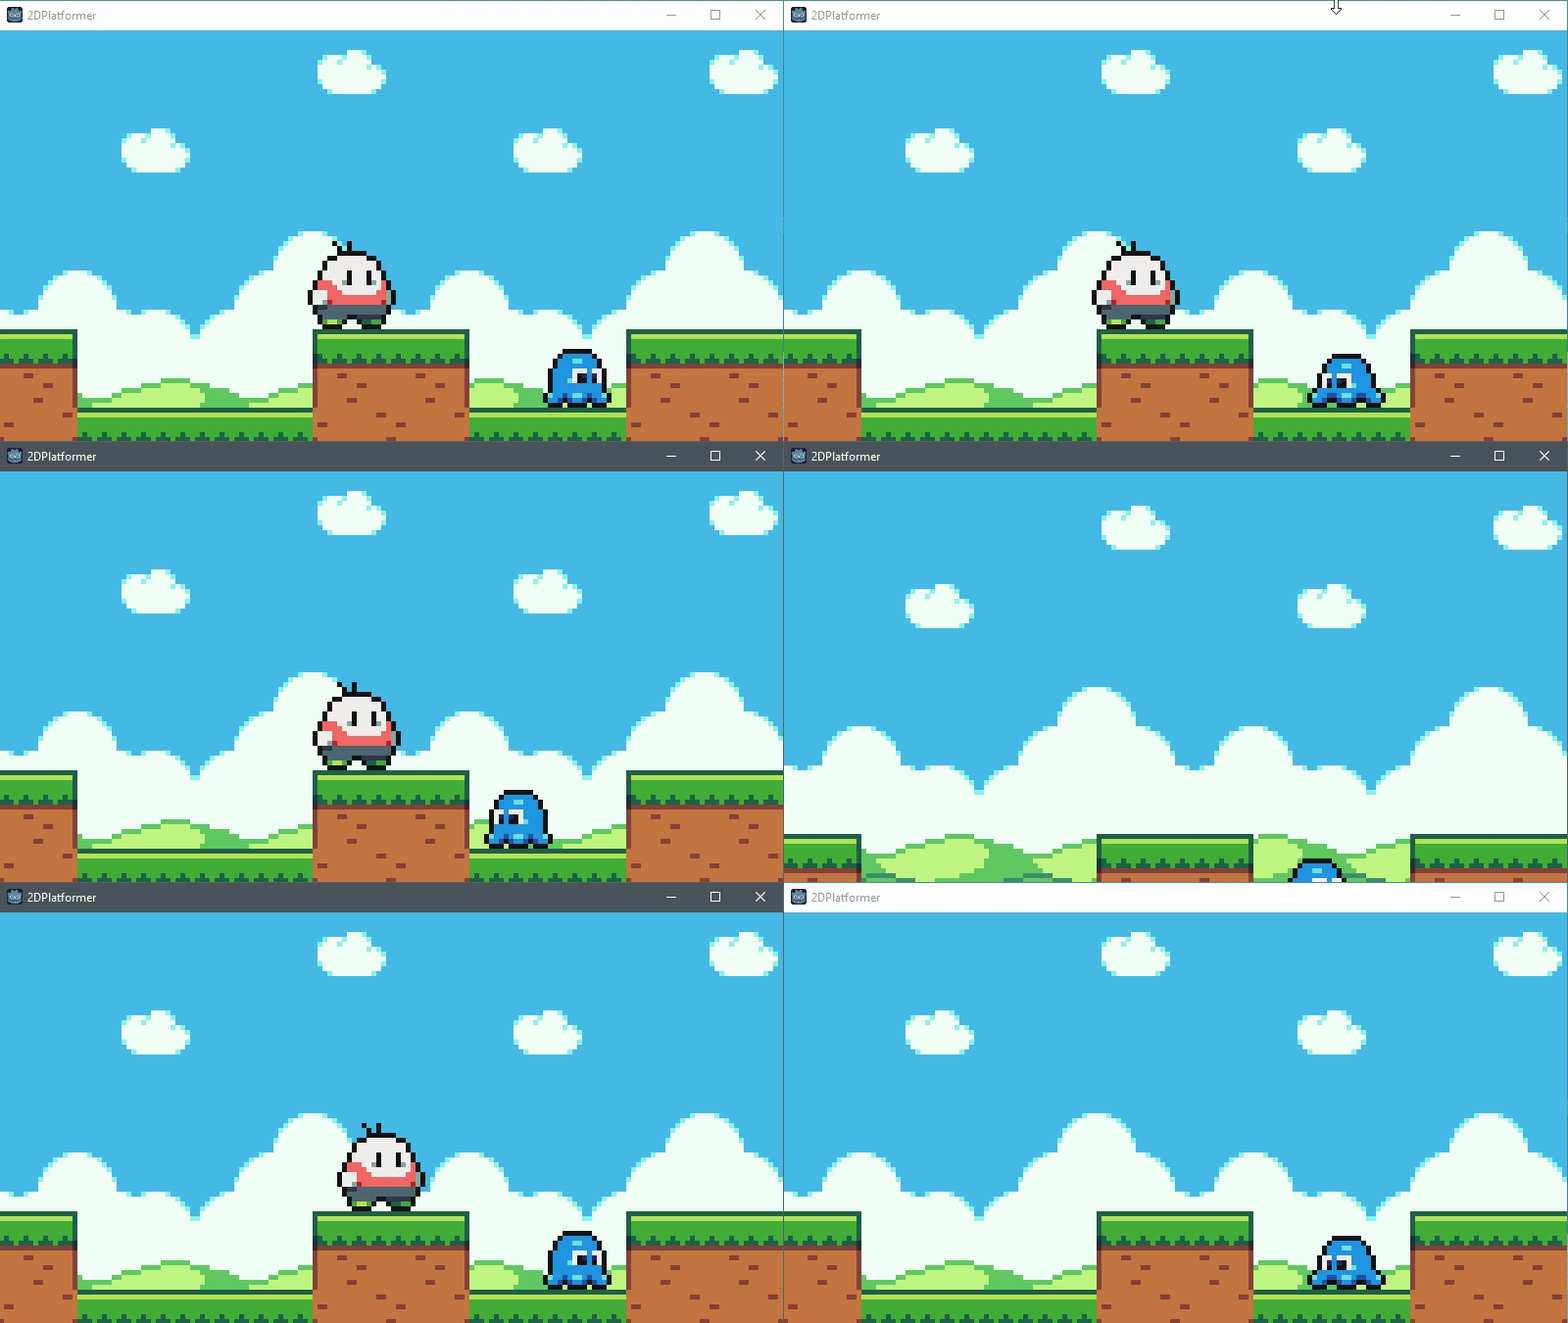
This part ended here, next part we will creating the UI to showing player health.